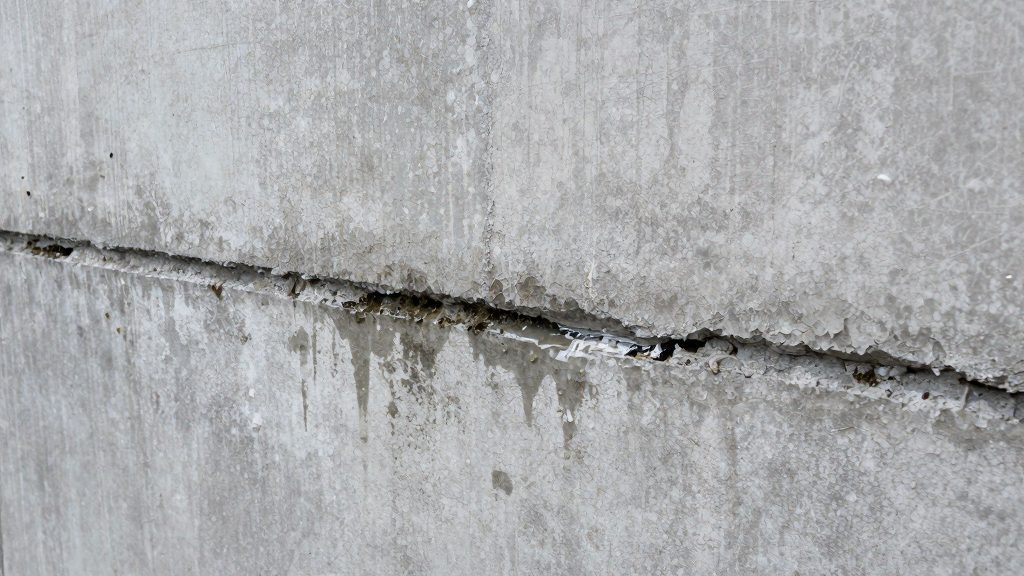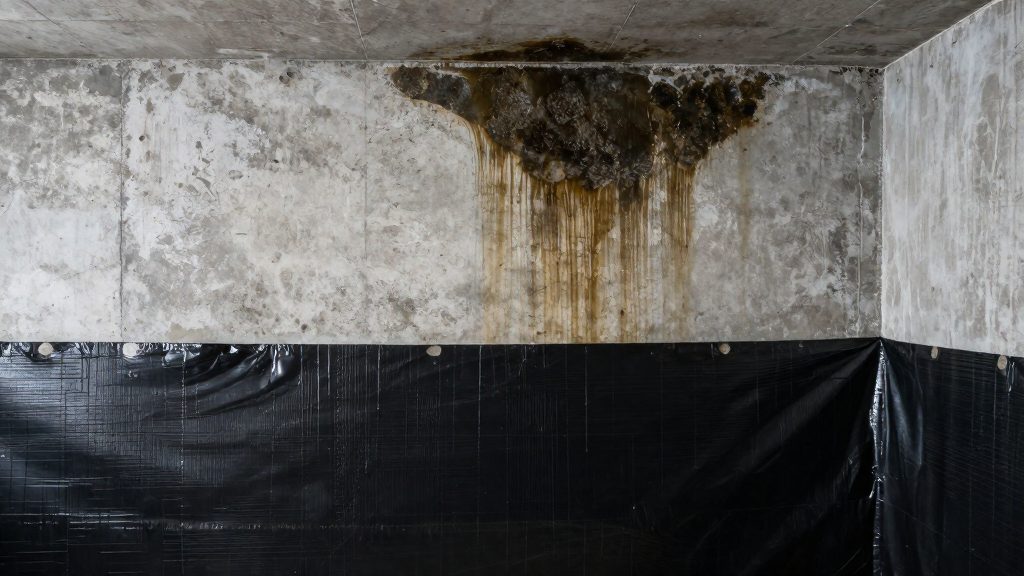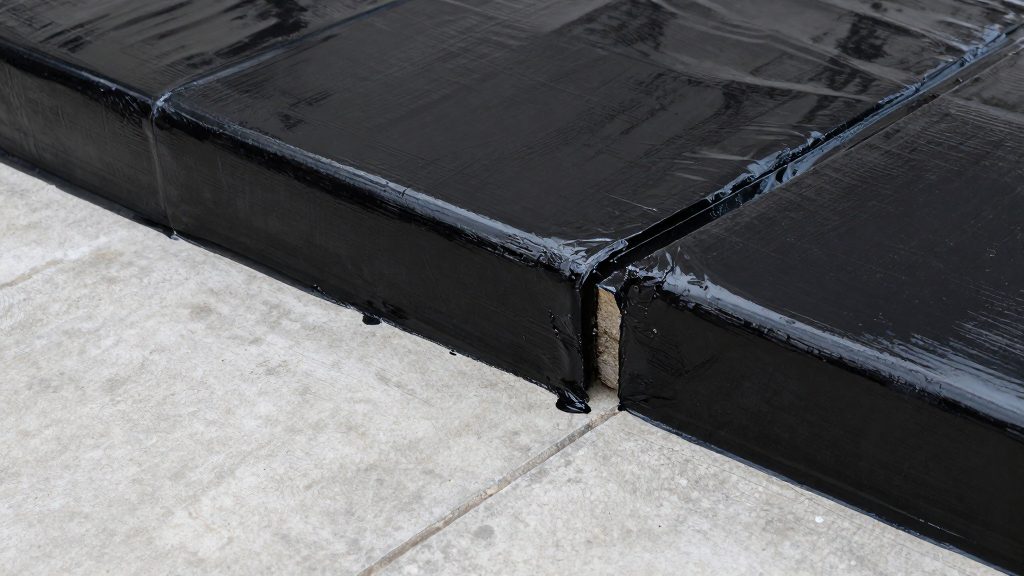
Yes, a basement floor can be waterproofed from underneath, but the work requires opening the existing slab. The approach in the National Research Council Canada’s Canadian Building Digest (1974) places drainage and moisture control beneath the floor, so the job is a structural renovation rather than a surface treatment. The schedule depends on the site, access and local requirements.
Can you waterproof a basement floor from underneath?
Feasibility beneath an existing slab
Feasibility depends on access to the soil under the slab. Drainage beneath the slab cannot be placed without lifting it, so the real question is whether the site allows excavation beneath it.
Typical scope from excavation to new slab casting
The work follows a fixed sequence, and each stage depends on the one before it.
| Stage | Work involved | Purpose |
|---|---|---|
| Slab removal | Cut and lift the existing slab over the work area | Gives access to the soil beneath |
| Excavation | Dig down to the footing tile level | Exposes the drainage path |
| Granular base | Place clean granular fill over the footing tile | Drains water and limits moisture rising by capillarity (National Research Council Canada (Canadian Building Digest), 1974) |
| Moisture barrier (where dampproofing is used) | Lay polyethylene or type S roll roofing over the base | Dampproofing under the floor where the granular-fill exemption is not used |
| New slab | Cast concrete over the barrier | Restores a finished floor |
Disruption and timeline compared with interior options
Under-slab work affects the whole floor area, while interior options typically work along the perimeter. The table below compares the two approaches on the factors that matter most during planning.
| Factor | Under-slab waterproofing | Interior options |
|---|---|---|
| Slab opened | Full work area beneath the floor | Narrower perimeter cut, depending on design |
| Furniture and utilities | Relocated across the full floor | Relocated along the perimeter route |
| Timeline | Depends on area and access | Depends on design |
| Water addressed | Water beneath the slab, following the digest’s approach | Water collected at the floor edge |
The choice depends on where the water enters and how much access the site allows. Under-slab work is more disruptive, but it is the option that places drainage beneath the slab.
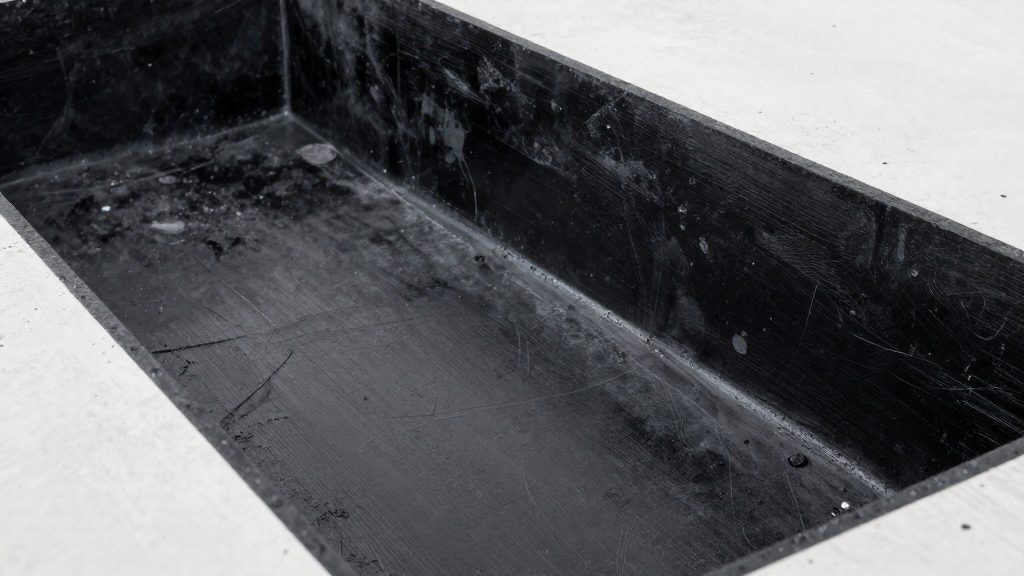
Why under-slab waterproofing means breaking the slab
An under-slab membrane has to sit between the concrete slab and the soil beneath it, so the slab must be opened before any sheet can be laid. A retrofit that treats only the top surface of the floor cannot stop moisture rising from the ground below. Moisture rises from the ground by capillarity, which is why the granular layer and any dampproofing belong under the concrete rather than on top of it.
What a floor leak reveals
A leak through a basement slab is a diagnostic signal. According to the National Research Council Canada (Canadian Building Digest, 1974), a leaking basement floor indicates water under pressure. This is a diagnostic signal that drainage under the slab should be considered, not a way to set sawcut lines.
Removing interior finishes first
Nothing above the slab should be disturbed before the cut lines are set out:
- Floor coverings: carpet, underlay, vinyl or laminate, and adhesive residue
- Perimeter skirting boards and wall finishes, so the cut line is accessible
- Fixtures, shelving and stored items moved out of the work zone
Sawcutting and recasting sequence
The work follows a fixed order, and each stage depends on the previous one:
| Stage | Action | Purpose |
|---|---|---|
| 1 | Strip floor coverings and underlay | Expose bare concrete |
| 2 | Remove perimeter skirting and finishes | Free the cut line |
| 3 | Mark cut lines and locate embedded services | Prevent damage to pipes and conduit |
| 4 | Sawcut the slab along the marked lines | Create a clean edge for removal |
| 5 | Break out and lift the slab sections | Reach the subgrade |
| 6 | Prepare the subgrade and install the membrane | Create the barrier under the slab |
| 7 | Recast the new slab to the existing floor level | Restore a continuous floor |
Sawcutting produces a straight edge that the new concrete can bond to, and breaking out in sections keeps the remaining slab stable while the work proceeds. Recasting completes the sequence, returning the floor to a continuous surface.
Gravel, drainage and weeping tile under the floor
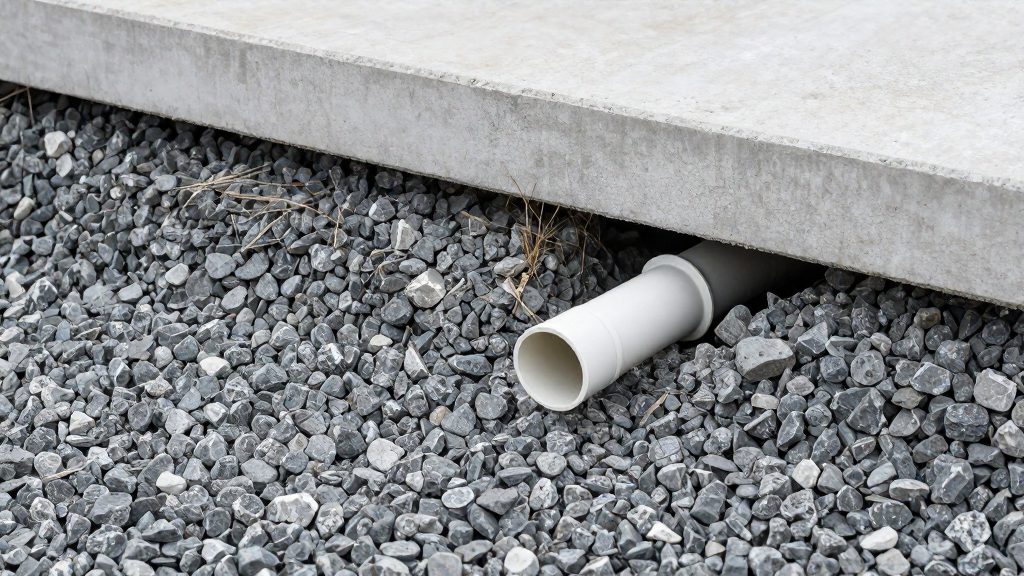
A granular layer under the slab lets water move sideways to the perimeter instead of building pressure beneath the floor. According to the National Research Council Canada (Canadian Building Digest, 1974), good practice for house basements is granular fill under the floor slab and over the footing tile, with tiles or pipes passing through the footing so that water under the slab can drain to the footing tile. The same fill also stops moisture rising by capillarity, so soil moisture has less path to reach the slab.
Connecting the layer to the footing tile
The connection at the footing is what makes the layer function as a drain. Openings or pipes through the footing carry water from the granular bed to the perimeter weeping tile. Without that link, water that enters the fill has nowhere to go and stays under the slab. The digest advises connecting any porous granular layer under the slab to the footing tile.
Fill specification
The requirements for the fill itself are as follows. The NBC 2010 text sets these as the conditions under which dampproofing is not required under a floor (BC Publications, NBC 2010 text, 2010):
| Parameter | Requirement |
|---|---|
| Layer thickness | At least 100 mm |
| Material | Coarse, clean granular material |
| Fines | No more than 10% passing a 4 mm sieve |
A fill that contains more fines than this limit does not meet the specification, even if it looks like gravel. Check the grading of the material before placement.
Second footing drain on heavy clay soils
Heavy clay soils restrict the movement of water, so a single drain may not relieve the pressure under the floor. The digest advises a second footing drain under the floor on heavy clay, connected either to a sump pit or to the exterior footing tile.
Polyethylene membrane: thickness and laps
Where dampproofing is installed below a basement floor, the National Building Code of Canada 2010 requires polyethylene at least 0.15 mm thick or type S roll roofing. Dampproofing is not required when the floor is built over at least 100 mm of coarse, clean granular material with no more than 10% passing a 4 mm sieve. According to the NBC 2010 text published by BC Publications (2010), any joints in the membrane must be lapped at least 100 mm. The membrane forms a continuous layer between the ground and the slab, so the thickness and overlap values are minimums that govern how the layer is built.
Membrane options and minimum values
| Requirement | Minimum specification (NBC 2010) |
|---|---|
| Polyethylene thickness | 0.15 mm |
| Alternative membrane | Type S roll roofing |
| Joint lap | 100 mm |
Polyethylene is the thinner, lighter option, and its thickness is the figure to check. A sheet rated below 0.15 mm does not meet the code minimum. Type S roll roofing is an accepted alternative to polyethylene, not an additional layer, so the installer chooses one membrane type for the floor area.
Laying the membrane
- Unroll the membrane over the prepared area before the slab is cast, and cut sheets to cover the full floor footprint.
- Overlap adjacent sheets so that each joint has a lap of at least 100 mm. Measure the overlap on the sheet itself, not the distance between the sheet edges.
- Check the lap along the full length of every joint. The minimum applies to all joints, not only those at one edge.
- Avoid gaps where sheets meet. A joint that falls short of the 100 mm lap leaves a weak line in the barrier.
Follow the membrane manufacturer’s instructions for any adhesive or tape used to seal laps.
Radon rough-in and the gas-permeable layer
Radon rough-in means preparing the floor so that a radon mitigation system can be added later without breaking the slab. The key element is a gas-permeable layer beneath the slab. A layer like this lets soil gas move freely under the slab, so a suction point can draw it away.
Ontario’s Building Code now requires polyethylene under basement floor slabs, mainly to make future radon mitigation possible (RESCON, 2026). Other provinces and municipalities may have different requirements, so check with your local authority. The polyethylene sheet works with the granular layer. It keeps the sub-slab space open and controllable, rather than sealing it off.
The rough-in itself is planned during the original floor work, so no slab has to be cut later. In practice, this means:
- Placing the granular layer before the slab is poured, so it is already in place when the floor is finished.
- Following the local code and a radon professional’s guidance on any suction pipe.
- Keeping the granular layer continuous across the floor, so one suction point can draw from the whole area.
- Recording the pipe location, so the installer can find it later.
The pipe capping is what makes the rough-in useful. A sealed stub stays out of the way of the finished floor, and a fan can be attached to it when mitigation is needed.
The granular layer also has a drainage role. The radon gas-permeable layer uses the same specification as the NBC 2010 granular base, at least 100 mm of clean granular material, so one layer can serve both purposes.
What can you do from above instead?
Interior-side measures manage water that has already reached the floor edge or the wall face. They do not stop water at its source, and they do not reduce the pressure beneath the slab.
Interior perimeter drain channel and sump pump
An interior perimeter drain channel is cut or fitted along the inside edge where the wall meets the floor. It collects water that seeps through that joint and carries it to a sump pit, where a pump discharges it away from the foundation. The channel removes water that reaches it. The pump needs a continuous power supply, a discharge line routed away from the building, and periodic checks of the float switch.
Crack injection and surface-applied sealers
Crack injection fills a crack from the inside with a material selected for the crack’s width and movement. It addresses the crack path only. Surface-applied sealers coat the exposed face of the slab and reduce moisture passing through the surface. A sealed slab under pressure can still leak at a new crack or at an unsealed joint, and a coating can conceal moisture that continues to build up underneath.
| Measure | Where it acts | Main limit |
|---|---|---|
| Interior perimeter channel and sump pump | Floor-to-wall joint | Requires power and maintenance |
| Crack injection | Individual crack paths | Treats only the cracks filled; does not stop new leaks |
| Surface sealer | Exposed slab face | Does not block water pushed up from below |
Wall-side membranes and their limitations
Interior wall membranes are coatings or sheet systems applied to the inside face of a basement wall. They reduce moisture passing through the wall material. Their main limitation is location: a wall membrane has no effect on water entering through the floor slab, and it does not replace drainage behind the wall. Applying a membrane to a wall that is still wet also seals moisture inside the wall, where it can support mould growth.
When should you call a contractor?
Call a licensed contractor when the basement slab shows signs of structural movement, when you plan to excavate beneath it, or when you replace it. Some of this work also needs a building permit, and cracking that suggests movement may need a structural engineer before any repair. Have any leak or crack assessed before treating it, and call a professional as soon as the slab is opened or shows movement.
Signs of structural cracking or slab movement
Monitor the slab for changes over time, not just a single crack. The following observations suggest that an engineer or contractor should inspect the floor:
- Cracks that widen, lengthen, or reappear after being filled
- Vertical offset, where one side of a crack sits higher than the other
- Sloping or uneven areas that were level previously
- Gaps between the slab and the foundation walls, or cracks running from wall corners
- Doors or windows that stick as the building settles
Even a single hairline crack should be monitored. If it leaks, widens or changes, have it assessed by a professional. Cracks with movement, however, can indicate a problem with the granular base or the soil below it, and these need professional evaluation before any patching.
Permit requirements for excavation and slab replacement
Any work that opens the slab or changes the membrane below it should be checked with your local building authority. Confirm the requirements locally before work begins.
Where a building code applies, it sets the minimum standard for new work.
Questions to ask when comparing contractor quotes
Quotes for slab work often differ in scope, so compare them against the specifications above:
- Does the quote state the membrane type and thickness, and the overlap width at joints?
- What is the specification of the granular base, including depth and grading?
- Is a structural assessment included, and who performs it?
- Does the price include the building permit and inspections?
- Does the work include a radon-ready layer where local rules require one?
- How are the slab edges and wall connections sealed?
- What warranty covers the slab, and does it cover the membrane separately?
Moisture control after waterproofing: dehumidifier and ventilation
Sealing the slab stops liquid water from entering the basement, but it does not remove the water vapour already in the air. That vapour keeps condensing on cold surfaces, so humidity control is a separate step that continues after waterproofing is complete.
Setting a humidity target
Place a hygrometer away from walls and from the dehumidifier outlet, and record readings over several days that include both damp and dry weather. Then check cold surfaces such as window glass, pipes and wall corners. Visible condensation there means the air is carrying more moisture than those surfaces can tolerate. Adjust the dehumidifier until those surfaces stay dry across seasons.
Dehumidifier operation
Keep the basement door closed so the unit works on one enclosed volume. Choose a model whose rated capacity suits the room size, and check the manufacturer’s rating against the actual room volume. For unattended operation, route the condensate to a floor drain or a pump rather than a tank that must be emptied by hand, because a full tank stops the unit.
Ventilating basement air
Ventilation removes humid air, but it also brings in outdoor air, which can carry more moisture than the basement in humid weather. Ventilate only when outdoor air is drier than indoor air. If a basement has an exhaust fan, pair it with a make-up air path so that the fan does not pull damp air through unsealed gaps. When the outdoor air is humid, limit ventilation and let the dehumidifier run, while checking the indoor air with a hygrometer and a CO2 sensor so that air quality does not deteriorate.
Frequently asked questions
What does the granular layer do under a basement floor?
The layer of clean granular fill placed over the footing tile gives water beneath the slab a route to drain away. It also limits capillary rise, the upward movement of soil moisture into the concrete, according to the National Research Council Canada (Canadian Building Digest, 1974).
What does it mean if water comes up through my basement floor?
Water appearing through a basement floor indicates water under pressure, according to the National Research Council Canada (Canadian Building Digest, 1974). The digest advises connecting any porous granular layer under the slab to the footing tile, and on heavy clay it recommends a second footing drain under the floor, connected to a sump pit or the exterior footing tile.
Should I call a professional before opening my basement slab?
Cracks, movement or leaks can point to a structural problem or active water pressure, so a professional assessment before any cutting is the safer starting point.