Water seeps through a concrete basement wall after rain because precipitation and meltwater saturate the ground around the foundation, and that water then reaches the wall through openings in the concrete or through the porous concrete itself.
Why does water seep through a concrete wall after rain?
Seasonal triggers
Green Building Canada (2026) identifies three weather events as especially hard on Canadian basements:
- Spring snowmelt
- Heavy rain
- Freeze-thaw cycles
Rain adds water to the ground around the foundation, which is why seepage often follows it.
Why Canadian basements are especially exposed
Causes and entry routes
Seepage has several causes, and each one offers a different route into the wall:
| Cause | Entry route into the wall |
|---|---|
| Foundation cracks | Breaks in the concrete that let water pass through the wall |
| Holes and joints in the foundation | Openings through which water enters the basement (City of Calgary, 2026) |
| Wall-floor (cove) joint | The junction where the wall meets the floor |
| Porous concrete | Water wicking through the concrete itself |
| Hydrostatic pressure | Water pressing against the wall from the outside |
| Poor exterior grading | Water that collects near the foundation instead of draining away |
Green Building Canada (2026) lists five of these causes (cracks, the cove joint, porous concrete, hydrostatic pressure and poor grading). The City of Calgary (2026) adds holes and joints in the foundation. Identifying which route is active helps narrow the source of the water, but the route itself is only one part of the picture.
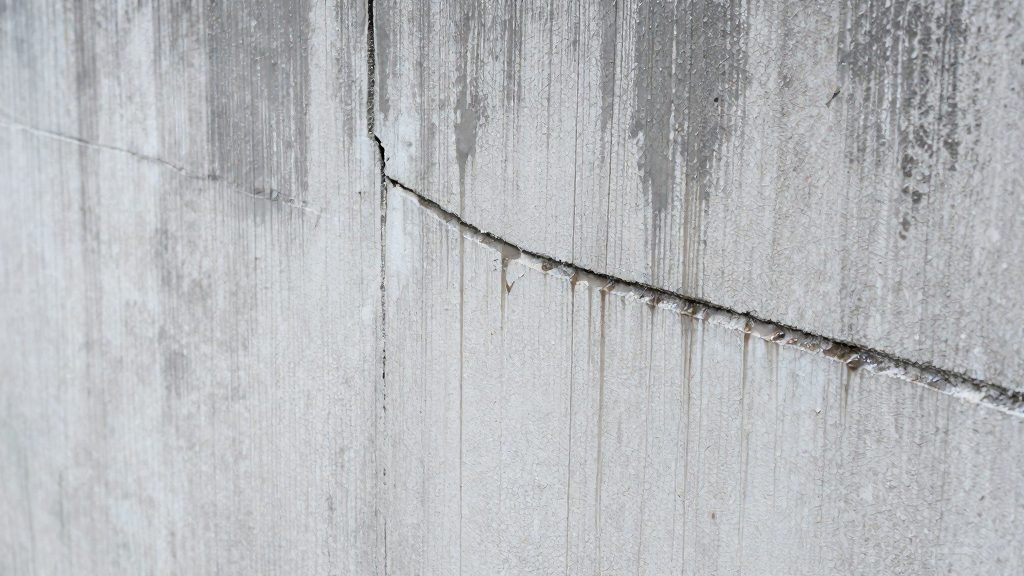
Leak or condensation: how to tell
Water on a concrete wall after rain can come from two sources that look almost identical: water seeping through the wall, or warm room air condensing on a cold surface. The fix differs for each, so the source needs to be identified first. According to Green Building Canada (2026), a simple field test separates the two by showing which side of the wall the moisture appears on.
The plastic square test
You need a plastic sheet cut to about 12 × 12 in (30 × 30 cm) and tape.
- Tape the plastic square flat against the wall, sealing all four edges so that air cannot move underneath it.
- Leave it in place for 24 to 48 hours, ideally through or just after a rain event.
- Remove it and check both faces: the one touching the concrete and the one facing the room.
| Where moisture appears | What it indicates |
|---|---|
| Wall side (under the plastic, against the concrete) | Water is coming through the wall |
| Room side (exposed face of the plastic) | Condensation |
Other signs to check
The plastic test can be supported by three visual and smell checks:
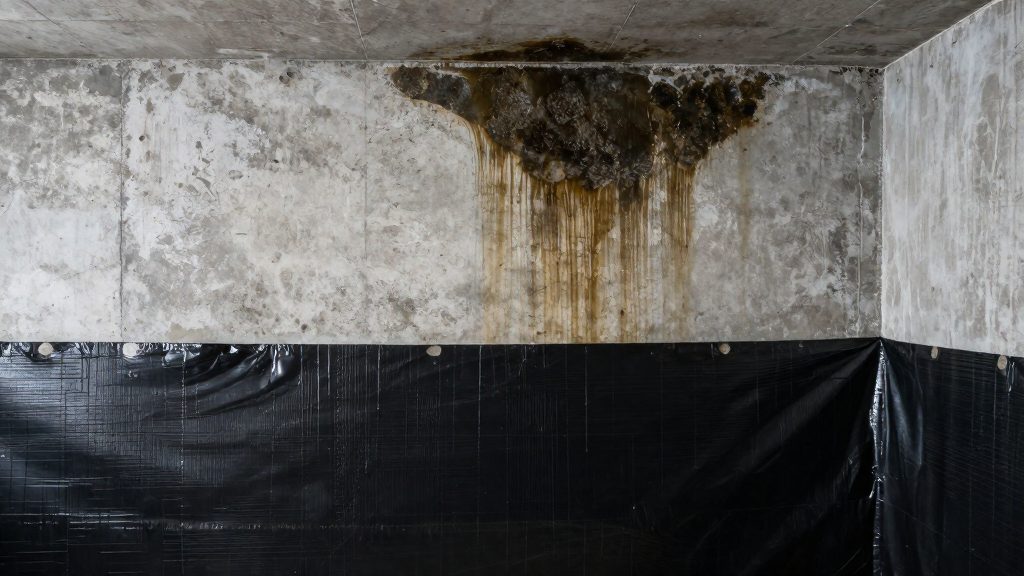
- Staining: brown or dark marks on the concrete. Check the wall-floor (cove) joint in particular.
- Efflorescence: white, powdery deposits on the surface. These form when water moves through the concrete and leaves mineral salts behind as it evaporates.
- Musty odour: a damp, earthy smell in the room. A persistent smell points to moisture that is not drying out, which warrants a closer look at the wall.
Cracks, joints and porous concrete
Water reaches the inside of a concrete wall through three routes: openings in the wall itself, the junction where the wall meets the floor, and the body of the concrete when it is porous.
Foundation cracks
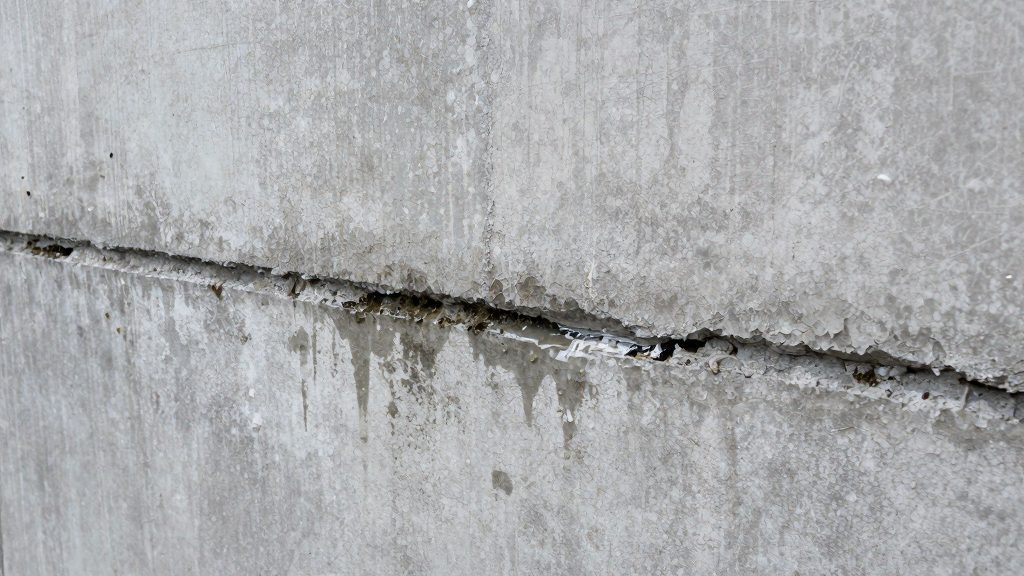
Cracks are the most direct openings. Because the City of Calgary (2026) names cracks, holes and joints together, each one should be inspected as a possible entry point rather than assumed to be dry.
The cove joint
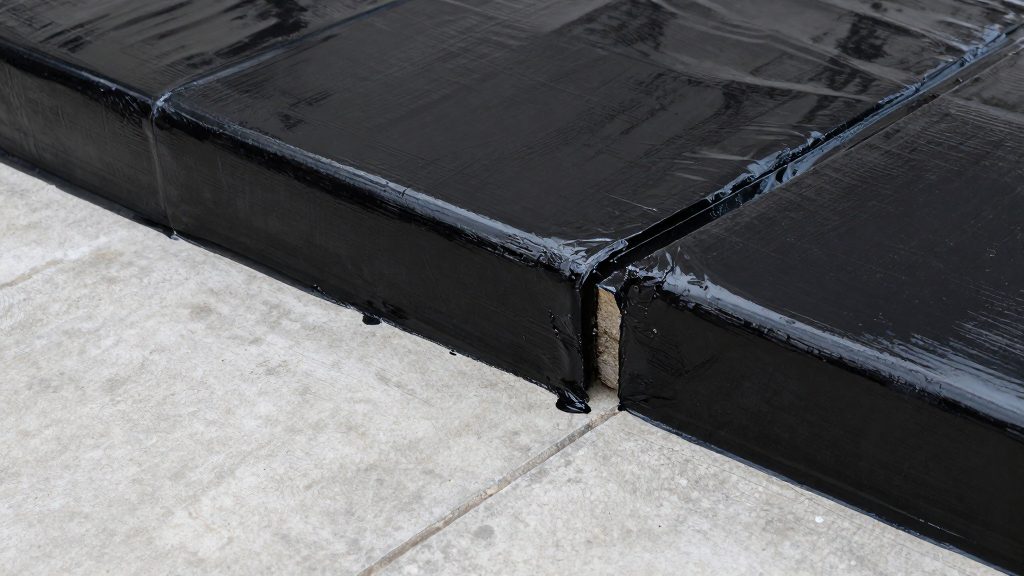
The cove joint is listed separately from cracks, so it needs its own check. It is the line where the wall meets the floor. Water that reaches this junction can follow it along the wall, which means the visible sign of seepage may appear away from where the water first entered.
Wicking through porous concrete
Wicking is water moving through the concrete material itself rather than through a visible gap. Green Building Canada (2026) treats it as a distinct cause, so a wall with no cracks can still admit water. Because the water travels through the body of the material, the entry point is not a single opening, and inspecting only for cracks may miss the problem.
Hydrostatic pressure and saturated soil
When the ground around a foundation is saturated, it stops absorbing water and starts delivering it to the wall. According to the City of Calgary (2026), saturated ground can act like a sponge or raise the water table. In the first case, the soil holds water in its pores and releases it against the foundation. In the second, the groundwater level rises toward the basement floor, so the wall sits in water rather than damp earth. In both cases, water seeps through the soil and enters the basement through cracks, holes and joints in the foundation.
How hydrostatic pressure drives water inward
Green Building Canada (2026) lists hydrostatic pressure among the causes of water seeping through basement walls. Hydrostatic pressure is the force exerted by standing water. When the surrounding soil is saturated, water that cannot drain away accumulates against the wall, and the force it exerts increases with the depth of that water. This force does not require a visible opening. It pushes water through openings too small to see, and once it exceeds the resistance of the wall at a given point, water moves inward. This explains why seepage can appear where the wall shows no obvious defect.
Why prolonged heavy rain raises the load
The load builds in stages. A brief downpour may be absorbed by the soil, but during sustained rain the soil pores fill and their capacity to take in more water drops. Surface water then has nowhere to go, the water table can rise, and the pressure against the wall increases the longer the wet period lasts.
Seepage that appears days into a wet spell, rather than during the first downpour, is consistent with this build-up in pressure.
Fix the outside first: grading and downspouts
Water that reaches a basement wall often starts at the surface. Reducing the volume of water that reaches the foundation comes before any interior measure. Three exterior actions address this directly: grading, eavestrough maintenance and downspout placement.
Grading the soil so water drains away
Grading means shaping the soil around the house so the surface slopes away from the foundation. The City of Calgary (2026) advises grading the ground so that water drains away from the foundation. To check it, walk the perimeter after heavy rain or snowmelt. Pooled water against the wall, or soil that has settled toward the house, shows that runoff is being directed back to the wall. Correct it by adding and compacting soil at the base of the wall so the surface falls outward.
Cleaning eavestroughs to prevent overflow
Eavestroughs (gutters) carry roof runoff away from the building. When they are blocked with leaves or debris, water spills over the edge and falls onto the soil beside the wall, concentrating it at the foundation. The City of Calgary (2026) advises cleaning eavestroughs. Inspect them after leaf fall and before the spring thaw, and confirm that water flows freely toward the downspouts. A blockage at one section can cause overflow along the whole run, so check the full length.
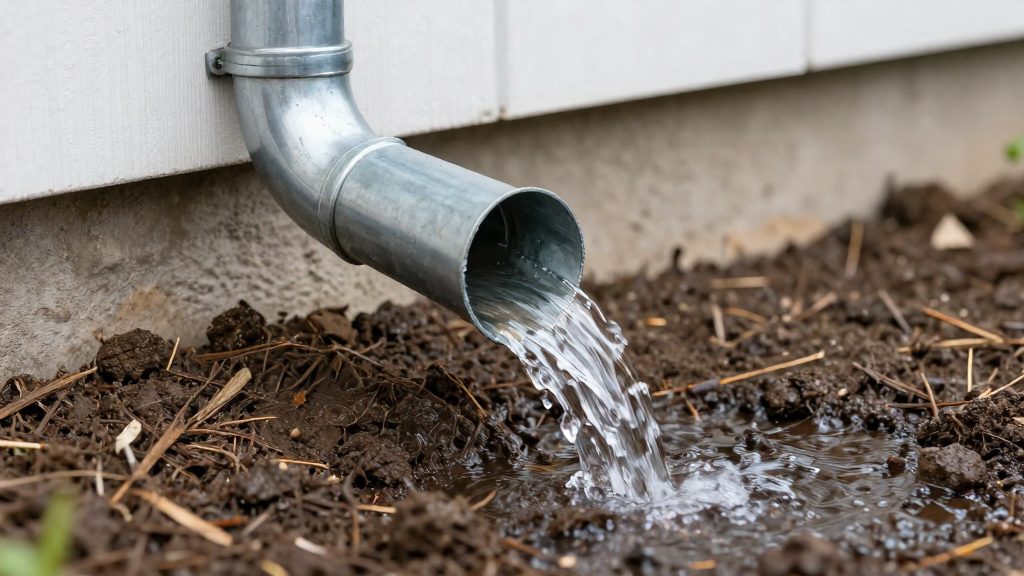
Placing downspout outlets at least 6 feet from the foundation
The downspout outlet is the point where roof water leaves the pipe. The City of Calgary (2026) advises keeping downspout outlets at least 6 feet (about 1.8 m) from the foundation. Extension pipes are a common way to reach that distance when a downspout sits close to the wall. Confirm the discharge is directed away from the house.
Interior waterproofing and sump pump
Interior waterproofing and sump drainage suit non-structural dampness, and they work on a different principle from exterior work. Crack sealing closes the opening that water uses to enter. An interior drainage channel with a sump pump collects the water that gets in and carries it away. Green Building Canada (2026) describes interior waterproofing as generally less expensive and less invasive than exterior options, and as suited to non-structural dampness. It describes exterior waterproofing as ideal but costly and invasive.
Crack sealing in foundation walls
City of Calgary (2026) advises waterproofing cracks in foundation walls. Foundation cracks, holes and joints are among the paths through which water seeps into a basement, so sealing the crack targets the entry point itself. Because it works on the opening rather than on the water that has already come through, it is the only approach in this section that aims to keep water from entering.
Interior drainage channel feeding a sump
An interior drainage channel runs along the inside of the wall and routes water that has entered the basement to a sump pit. The channel manages the water but does not stop it from entering, so it is most useful when seepage cannot be fully sealed.
Sump pump maintenance and discharge rules
The sump pump lifts collected water out of the pit and carries it away. City of Calgary (2026) states that the homeowner is responsible for maintaining it. The discharge line also has rules: sump discharge must not go into weeping tile, onto neighbouring properties or onto streets.
| Criterion | Crack sealing | Interior drainage channel + sump pump |
|---|---|---|
| Main action | Closes the opening water enters through | Collects water that has entered and carries it away |
| Stops water from entering | Yes, at the sealed crack | No |
| Ongoing responsibility | Not applicable to a one-time repair | Homeowner maintains the sump pump |
What a dehumidifier can and cannot do for a damp wall
A dehumidifier can lower the moisture in the air of a room with a damp concrete wall. It does not stop water from entering the wall. Water that seeps through concrete keeps arriving until the entry point is addressed, so a dehumidifier works as moisture removal alongside other measures, not as a replacement for them.
What a dehumidifier removes and what it cannot
A dehumidifier collects water vapour from the air and holds it in a tank. It has no effect on liquid water moving through the wall. A dehumidifier cannot act on liquid entry routes directly. It reduces the humidity that surrounds the damp area, which helps limit conditions where mould can establish.
| Moisture source | Effect of a dehumidifier |
|---|---|
| Water vapour in the room air | Removed and collected in the tank |
| Liquid water through the wall | Not stopped; needs drainage or sealing |
| Moisture from cool, damp surfaces | Reduced as the surrounding air dries |
Using readings to judge the situation
Track the reading with a hygrometer over several days. A falling then stable reading only shows that the air is drying. It does not show that the situation is safe, so keep checking the wall for dampness, staining, efflorescence and mould. If the wall stays visibly damp while the reading keeps dropping, water is still entering through the wall, and the dehumidifier cannot fix that alone.
Handling drainage and the water tank
- Empty the tank on a regular schedule, and before storing the unit for any length of time.
- If the model supports a continuous drain hose, route it to a suitable drain point, following the manufacturer’s manual.
- Keep the unit on a stable surface so the tank and drain connection stay accessible.
When to call a professional
Home checks stop being enough when water entry is tied to the wall’s structure rather than to surface conditions. Some causes can only be confirmed by someone who can inspect the wall itself, so the decision to escalate depends on what you observe.
Signs of structural cracking or wall movement
Cracks are the most direct entry point for water. The City of Calgary (2026) advises waterproofing cracks in foundation walls, but the crack’s behaviour determines whether sealing is enough. Arrange a structural assessment if you see:
- Horizontal cracks, or cracks that are wider at one end than the other.
- Visible bowing or leaning of a wall section.
- A crack that reopens after it has been sealed.
- Seepage concentrated at one displaced section of wall.
Sealing treats the opening but not the cause, so repeated repairs without an inspection are a poor use of time and money.
Recurring seepage after exterior grading fixes
The City of Calgary (2026) advises grading the ground so water drains away from the foundation. If seepage continues after you have corrected the grading, the soil around the wall may still hold water. Persistent seepage after grading work may point to hydrostatic pressure or a defect in the wall, which calls for a professional diagnosis.
Green Building Canada (2026) describes exterior waterproofing as ideal but costly and invasive, while interior options are generally less expensive and less invasive. A contractor can compare these options against the cause you have identified.
| Observation | Likely meaning | Next step |
|---|---|---|
| Seepage continues after grading is corrected | Saturated ground or hydrostatic pressure | Compare exterior and interior waterproofing |
| Wall visibly bows or leans | Structural movement | Structural assessment before any waterproofing |
Choosing a contractor and checking credentials
Request the following before you agree to any work:
- A written scope that states whether the work is interior or exterior, since the two differ in cost and invasiveness.
- A written diagnosis that names the cause of the seepage before a method is proposed.
- Proof of licence and insurance. Confirm which licensing body applies in your area with your local authority.
- References from completed jobs involving similar wall conditions.
- At least two written quotes that specify materials and warranty terms.
Frequently asked questions
Why does my concrete basement wall only leak after it rains?
Rain and meltwater saturate the soil around the foundation. According to the City of Calgary (2026), that saturated ground can act like a sponge or raise the water table, pushing water through the soil and into cracks, holes and joints in the foundation.
How can I tell a leak from condensation on a basement wall?
Tape a plastic square of about 12 × 12 in (30 × 30 cm) to the wall for 24–48 hours, as described by Green Building Canada (2026). Moisture on the wall side of the plastic indicates water coming through the wall, while moisture on the room side indicates condensation.
Will a dehumidifier or interior waterproofing stop water coming through the wall?
Green Building Canada (2026) states that interior waterproofing is generally less expensive and less invasive than exterior options and suits non-structural dampness, but an interior drainage channel to a sump manages the water without stopping it from entering.