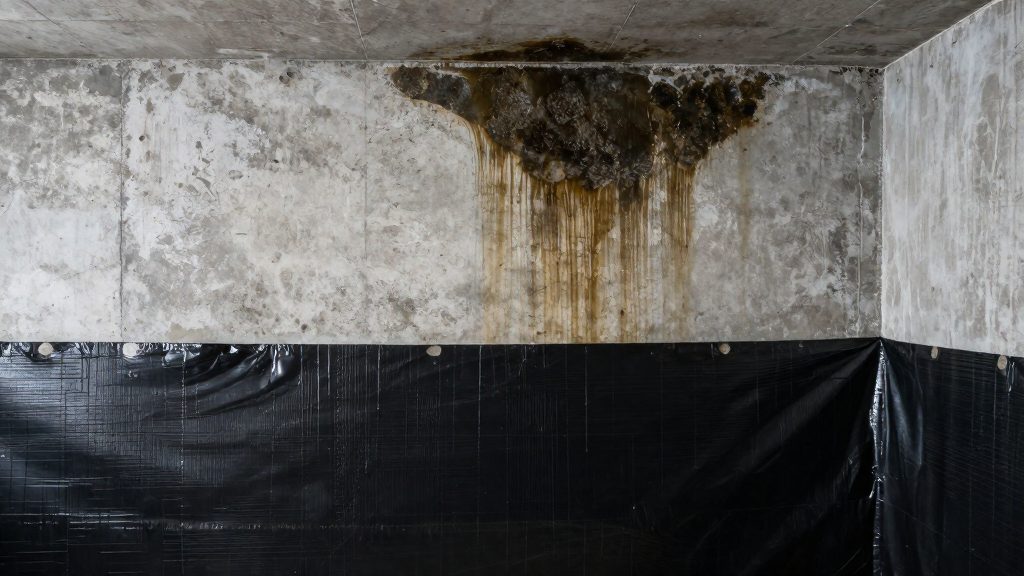
A waterproofed basement wall can still feel damp because basement wall dampness has two distinct causes, and waterproofing only addresses one of them. Water from outside that seeps in or is pushed in by hydrostatic pressure is a leakage problem. Water vapour that condenses on cold concrete is a separate problem. Moisture left behind by new finishes or poor insulation installation can keep a wall wet even after the leak itself is fixed.
Why is my wall still damp after waterproofing?
Outside water versus water vapour
According to the National Research Council Canada (NRC-IRC), leakage comes from outside water and is fixed with drainage and waterproofing. Condensation is different: it happens when water vapour in the indoor air condenses on cold concrete. Waterproofing a wall does nothing to stop vapour from condensing on its inner surface, so a wall can stay damp after a successful waterproofing job.
| Cause | Source of moisture | Typical remedy named by NRC-IRC |
|---|---|---|
| Leakage | Outside water (seepage or hydrostatic pressure) | Drainage and waterproofing |
| Condensation | Water vapour condensing on cold concrete | No remedy named in the source; exterior waterproofing does not stop it |
Waterproofing failures versus incomplete installation
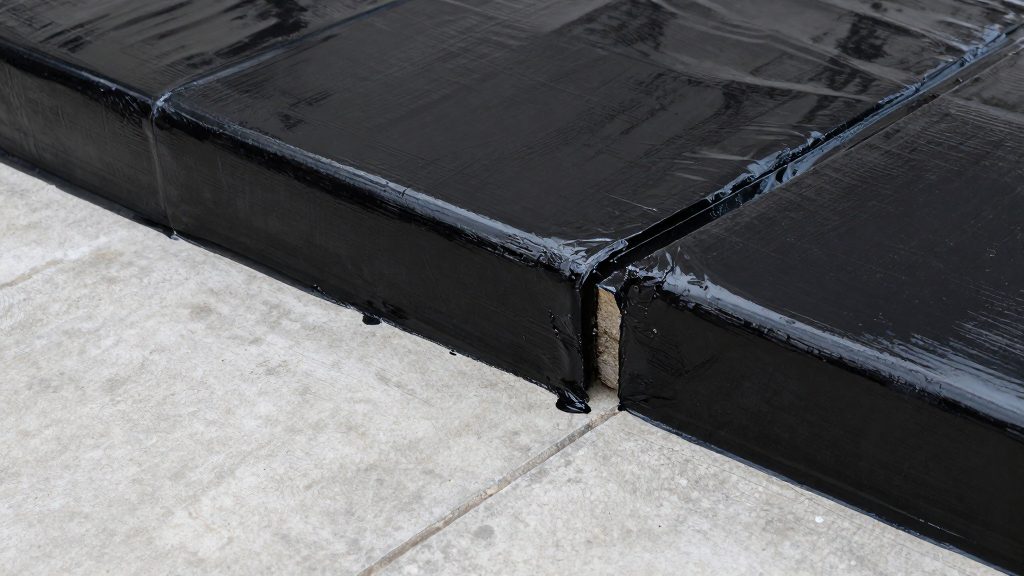
Dampness after work can come from the waterproofing itself or from how the system was installed. Extensive leaks call for excavating to the footings and replacing the exterior coating, according to NRC-IRC. If the coating was not replaced or was applied incompletely, water can keep reaching the wall.
Residual moisture behind new coatings
Newly applied finishes on below-grade walls can trap moisture that would otherwise evaporate. A wall that was still wet when it was covered can therefore stay damp for longer than expected, even though the leak is no longer active. The wall should be checked for moisture before and after finishing.
Leakage or condensation: how to tell
Basement wall dampness has two distinct origins, and simple field checks can separate them. The two need different remedies, so identify the source before choosing a repair.
Dry-patch test with a taped plastic sheet
Tape a square of plastic sheeting flat against the bare concrete, sealing all four edges. Leave it in place for several days, then remove it and inspect both faces.
- Moisture on the concrete side: water is moving through the wall from outside, which points to leakage.
- Moisture on the room-facing side: indoor vapour has condensed on the cooler plastic, which points to condensation.
- No moisture on either side: this single test is inconclusive. Repeat it in different weather and seasons before ruling out leakage or condensation.
Repeat the test at several heights. Leakage often shows up lower on the wall, where hydrostatic pressure is highest.
Water-track stains
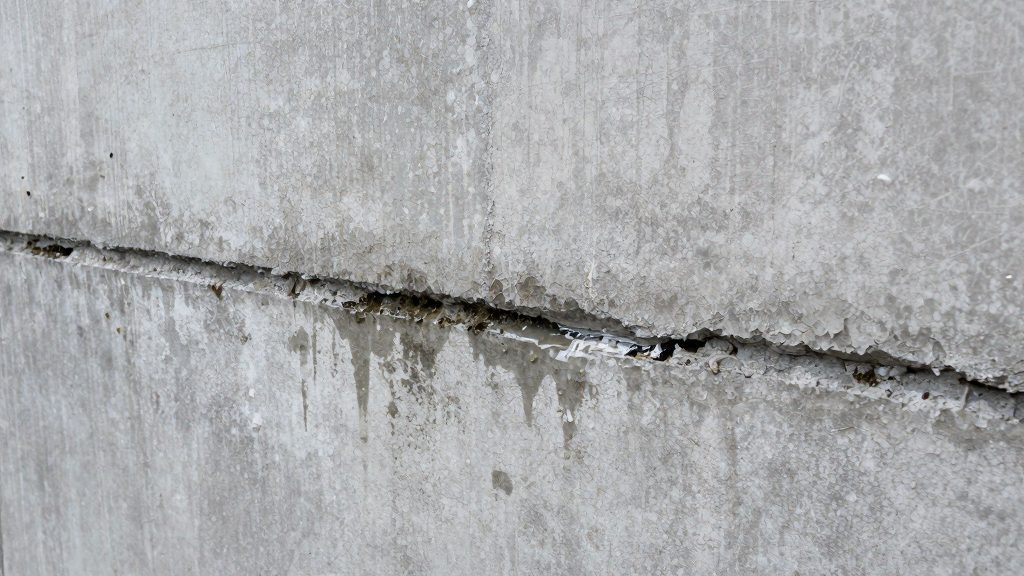
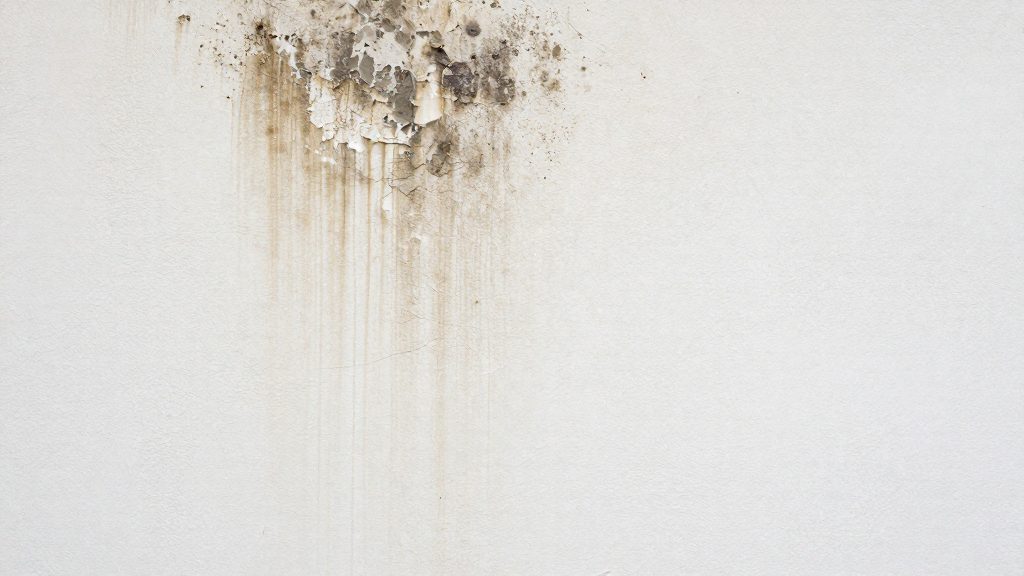
Water that enters through the wall often leaves visible paths. Look for streaks running down from one point, white efflorescence (salt deposits) trailing along joints or cracks, and wet bands that follow the same route after rain or snowmelt. These tracks trace the seepage route.
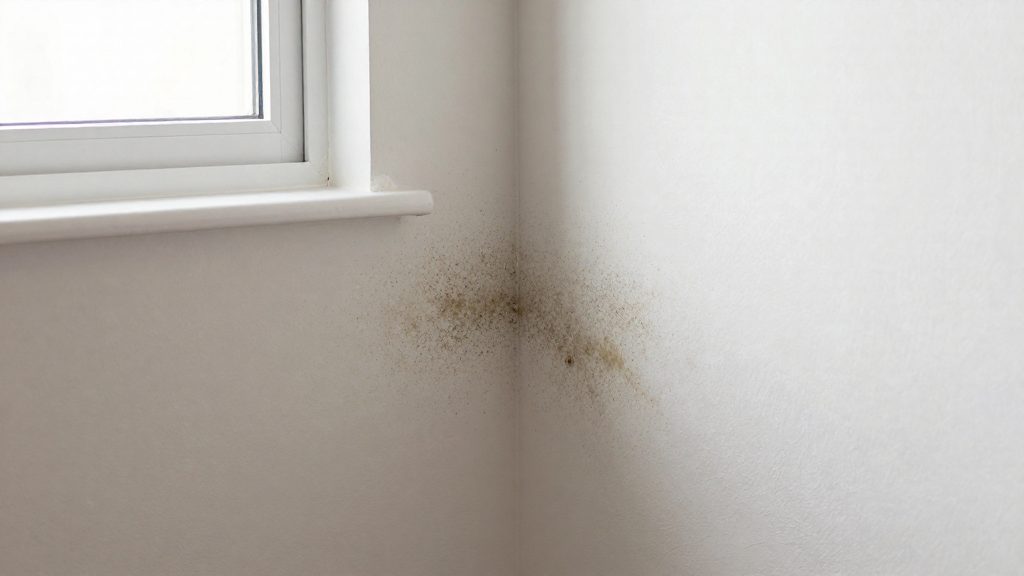
Condensation produces a different pattern: a fairly uniform film or beads of water on the coldest surfaces, often at corners and behind furniture. Location on the wall alone does not separate condensation from leakage. It rarely forms distinct streams.
Dew-point comparison on cold concrete
Measure indoor air temperature and relative humidity with a hygrometer, then calculate or read the dew point. Next, measure the concrete surface temperature with an infrared thermometer at the damp spot and at a dry spot nearby.
- Surface at or below the dew point: condensation is possible at that location.
- Surface above the dew point but the wall still wet: outside water is possible, but one set of readings is not conclusive. Confirm with repeated readings and the other tests.
| Observation | Points to leakage | Points to condensation |
|---|---|---|
| Plastic sheet test | Moisture on the concrete side | Moisture on the room-facing side |
| Wetness pattern | Streaks or tracks from a single point | Uniform film or beads on cold surfaces |
| Surface vs dew point | Wall wet while surface is above dew point | Surface at or below dew point |
Interior repair coats for minor dampness
The National Research Council Canada (NRC-IRC) sets out the conditions under which interior repair coats can be applied to a basement wall, and those conditions determine when dampness can be expected to stop.
Conditions for applying interior cement plaster
For minor seepage, an interior cement plaster can be applied during a dry period. The NRC-IRC specifies a minimum thickness of 3/8 in. (about 9.5 mm). Applying the plaster when the wall is still wet from construction or recent seepage traps moisture behind the coat, so the timing of application matters as much as the thickness.
Two coats of water-cement paint on damp surfaces
A water-cement paint, made from portland cement and water, can be applied to a damp surface. The NRC-IRC specifies two coats. The paint is a surface treatment for minor dampness, not a way to stop active water entry.
Curing the coats like concrete
The coats must be cured like concrete. Curing means keeping the coating moist for a period after application so the cement hydrates properly. Check the curing duration recommended for concrete on the job.
| Repair method | Condition | Requirement |
|---|---|---|
| Interior cement plaster | Minor seepage | At least 3/8 in. thick, applied in a dry period |
| Water-cement paint (portland cement and water) | Damp surface | Two coats, cured like concrete |
Check the footing drain and surface drainage
This section covers the leakage cause only: the drainage path that carries outside water away from the wall, and the repair options matched to leak severity. Seepage that continues after waterproofing usually points back to that drainage path.
The footing drain as the usual cause
The NRC-IRC identifies a plugged footing drain as the usual cause of seepage. The footing drain, also called the drain tile, sits at the base of the wall and collects water that would otherwise build up against the concrete. When it clogs, that water has nowhere to go and finds its way through the wall.
To check it, follow this method:
- Locate the outlet or sump where the footing drain discharges.
- Observe whether water flows freely from the outlet during and after rain.
- Note where the wet area sits along the wall, since the damp zone usually lies on the side served by the blocked drain.
Surface water that never reaches the drain tile
The second cause is surface water that does not reach the drain tile. Even a clear footing drain cannot collect water that runs off the ground somewhere else. Inspect the grading around the foundation and the downspout discharge points, and confirm that water from the roof and the ground surface moves away from the wall rather than pooling against it. Water that sits beside the foundation has a path inward whatever the condition of the drain.
Matching the repair to the leak severity
The NRC-IRC source explicitly names only the response to an extensive leak. The first two rows below are logical corrections of the causes it identifies:
| Situation | Repair indicated |
|---|---|
| Seepage from a plugged footing drain | Clear the blockage so the drain carries water away |
| Surface water not reaching the drain tile | Redirect surface water so it reaches the drain tile |
| Extensive leak | Excavation to the footings, drain tile repair, and replacement of the exterior coating |
Only extensive leaks require excavation. For a localised problem caused by a blocked drain or misdirected runoff, correcting the water path is the first step. Excavation is the response when the leak is extensive, and the NRC-IRC describes it as a sequence: expose the footings, repair the drain tile, then replace the exterior coating.
Insulation gaps and vapour barriers
Insulation that does not sit tight against a basement wall can cause moisture problems that look like leaks. According to the National Research Council Canada (NRC-IRC), air gaps between insulation and the concrete wall can cause condensation on the wall surface. The recommended condition is that insulation sits tight against the wall, so that no pocket of air separates the two layers.
An air gap gives water vapour from indoor air a cold surface to condense on, so the wall can stay damp even when the exterior waterproofing and drainage are working.
Interior finishes on below-grade walls add a second risk. The NRC-IRC notes that finishes can trap moisture that would otherwise evaporate, so the wall has fewer ways to dry once it is covered.
| Condition behind the finish | Effect on the wall | Point from the NRC-IRC |
|---|---|---|
| Air gap between insulation and concrete | Water vapour condenses on the wall surface | Insulation should sit tight against the wall |
| Finish applied to a below-grade wall | Moisture that would evaporate stays trapped | Finishes can trap moisture |
Check which finish materials are vapour-permeable, and where vapour-blocking layers belong relative to the insulation, with the insulation and finish manufacturers or a qualified building professional before work begins.
How to set an indoor humidity target for a basement
The practical goal is to keep basement air dry enough that moisture does not condense on cold concrete. Because a reading of relative humidity alone does not show the temperature of the wall surface, the target should be set by monitoring the space over time and checking the walls for signs of moisture.
Setting a basement target
Start by measuring the basement continuously for at least one full week, and include periods when the heating is on and off. Then:
- Compare the lowest and highest readings to see how much the air moves.
- Check the walls, especially the lower section and corners, for beading water, darkening, or a musty smell.
- Lower the target if condensation appears, and raise it only if the walls stay dry and the air feels uncomfortably dry.
Hygrometer placement and reading accuracy
A hygrometer gives a useful reading only if it measures the room air rather than a local pocket of cold, damp air at the wall.
| Placement factor | Why it matters |
|---|---|
| Distance from exterior walls | Air touching a cold wall is not representative of the whole room |
| Height | Mount it at a typical occupied height, not on the floor or against the wall |
| Distance from vents and appliances | Airflow from a humidifier, dehumidifier, or vent skews the reading |
| Comparison with a second device | Two units that disagree point to a calibration problem |
Seasonal humidity swings in Canadian climates
Humidity in basements changes with the season, and the amount varies by region. Cold outdoor air holds less moisture, but a basement wall stays cold, so condensation can appear even when the air seems dry. In spring, snowmelt and rain raise moisture in the soil around the foundation, which can increase seepage into the basement. Readings taken only in one season can therefore miss the conditions that cause problems in another, so a year of records gives a more reliable picture than a few spot checks.
Do dehumidifiers and ventilation help?
Dehumidifiers and ventilation act only on moisture carried in the air. Air-based controls can reduce only the condensation cause.
Where dehumidifiers help
A dehumidifier removes water vapour from the room air, which lowers the moisture available to condense on cold concrete. Its effect depends on capacity matched to the volume of the basement. A unit that is too small for the space may run continuously without bringing the humidity under control, while a correctly sized unit reaches the target more easily.
Where mechanical ventilation helps
Ventilation exchanges moist indoor air for outdoor air. It reduces indoor moisture only when the incoming outdoor air is drier than the indoor air. In humid weather, ventilation can add moisture instead of removing it, so its effect varies with the season.
Limits against seepage
Neither device stops water that enters the wall from outside. NRC-IRC notes that seepage usually points to a plugged footing drain or to surface water not reaching the drain tile. Running a dehumidifier does not block that water, and the damp patch will return as soon as the water source remains active.
| Cause | Dehumidifier effect | Ventilation effect |
|---|---|---|
| Condensation on cold concrete | Reduces airborne moisture that can condense | Reduces indoor moisture when outdoor air is drier |
| Air gap behind insulation | Lowers airborne moisture but does not remove the cold surface; the gap must be closed | Limited effect; the gap must be closed |
| Seepage or hydrostatic pressure | No effect on water entering the wall | No effect on water entering the wall |
When to call an independent inspector
Call an independent inspector when the wall problem does not match a cause you can confirm yourself, or when it returns after the repairs you have already made. The fixes differ, so the inspector’s first task is to establish which cause is at work before any repair is booked.
Signs that justify a visit
- Structural cracking in the foundation wall that is wet, leaks water, or shows white mineral deposits. Record these and have them assessed rather than sealing them on sight.
- Persistent dampness that remains after drainage has been checked and dehumidification has run for a sustained period. This suggests the original diagnosis was incomplete.
- Dampness that returns quickly after a dry spell, which points to a source that earlier work did not address.
What the inspector report should contain
| Item | What to document |
|---|---|
| Cause assessment | Whether the moisture is leakage or condensation, with the reasoning |
| Location map | Each damp area and crack marked on a floor plan |
| Moisture readings | Instrument type, measurement points, date, time, and room conditions |
| Insulation contact | Whether insulation sits tight against the concrete, and any air gap behind it |
| Wall finishes | Type of finish on below-grade walls and whether it may trap moisture |
| Prior works | Drainage, waterproofing, and dehumidification already carried out, with dates |
Moisture readings only show a trend when they are repeated at the same points over time. A single reading does not show whether the wall is drying or getting wetter, so the report should specify the measurement schedule.
Frequently asked questions
Can I plaster over a basement wall that is only slightly damp?
For minor seepage, NRC-IRC describes an interior cement plaster at least 3/8 in. (about 9.5 mm) thick, applied during a dry period. Alternatively, two coats of water-cement paint (portland cement and water) can go onto a damp surface, and each coat must be cured like concrete.
Will a dehumidifier stop condensation on my basement wall?
A dehumidifier lowers the moisture in the air, which helps, but it does not change the cold surface of the concrete. If insulation leaves an air gap against the wall, that gap must be closed, because it can still allow condensation to form.
Is there a target indoor humidity level for a damp basement?
A hygrometer can show whether readings are rising or falling over time, but a reading alone cannot confirm that the wall is safe.