A thermal bridge is a localized part of a building’s envelope where heat escapes faster than through the surrounding wall, roof, or floor, because the material or structural element there has lower thermal resistance. It matters because the extra heat loss concentrates in one spot rather than spreading evenly across the wall, and it adds to the energy needed to keep the building at the same indoor temperature. How much of a particular house’s heat loss comes from thermal bridges requires a survey of that specific building.
What is a thermal bridge, and why does it matter?
The heat-flow principle
Heat moves from warm to cold through conduction, and the rate depends on the resistance of each material it crosses. A well-insulated wall forces heat through a layer of insulation, which resists the flow. Where a material with low resistance interrupts that layer, heat takes the easier route through it, and that route is the thermal bridge.
| Element | Why heat passes more easily |
|---|---|
| Concrete or masonry lintel above a window or door | Dense material replaces the insulation layer across the opening |
| Concrete floor slab or balcony running through the wall | Continuous solid path from the inside to the outside |
| Steel or other metal fixings | Metal conducts heat far better than insulation |
| Uninsulated junction where a floor meets an external wall | Insulation is often interrupted at the join |
Typical impact on energy use
A thermal bridge is usually small on its own, but its effect accumulates. Each bridge raises the heat that leaves the building, so the heating system must supply more energy to hold the same temperature. Older houses often contain several such junctions at floors, lintels, and wall ties, so their combined effect on the overall heat loss can be significant even when no single junction is large.
The effect is also local. Because the heat leaves through a limited area, the inner surface of that element stays colder than the adjacent wall, and occupants may feel a cold draw near it. Measuring how much energy a given bridge costs requires a survey of the specific building, and the figures depend on its construction and climate, so no general value applies to every older house.
Where do thermal bridges hide in older homes?
Most of these weak points sit at structural junctions, where different elements meet, change material, or are cut open for openings. Knowing where these junctions are lets you direct a survey to the spots most likely to show a problem.
Lintels, window reveals, and wall-to-floor junctions
Openings are the first place to inspect. The lintel spanning a window or door, the reveals (the side faces of the opening, often only about an inch or so of plaster over masonry), and the point where a floor meets an external wall all combine different materials and interrupted insulation. When surveying these areas:
- Compare the lintel and reveal surfaces with the adjacent wall at the same height.
- Check the wall-to-floor line at ground level and at upper floors separately, since they often have different constructions.
- Note whether the outline of the opening appears as a continuous band of colder surface, which points to a bridge running around the frame rather than a single isolated spot.
Uninsulated solid masonry walls and party walls
Older solid masonry walls have no cavity and usually no insulation, so the whole wall acts as a thermal path. Look for uniform cold areas across the wall, and for mortar joints that appear as a regular pattern.
Party walls, shared between two dwellings, need particular care. Because the neighbouring unit is usually heated, a party wall may show less temperature difference than an external wall. Interpret readings on both sides with that in mind, and confirm them with a second survey if the result matters.
Roof-wall junctions, eaves, and floor joist ends
Roof-wall junctions and eaves are where the wall plate, the roof structure, and the wall insulation meet. Gaps in insulation at the eaves are a common source of cold bands along the top of an upper wall. Floor joist ends that bear into external masonry create small, repeated cold points along the wall, because the timber sits inside the wall construction and interrupts its insulation.
Record the location of each junction and compare it with the others before concluding anything.
Can you spot thermal bridges without a camera?
Partly. Visual and hand-based checks reveal the thermal bridge symptoms, meaning places where heat escapes faster through a material or junction. They cannot confirm the cause or measure the size of the problem. Manual checks are best used to decide where to look and whether a professional survey is worth arranging. These checks need little equipment, such as a torch and a lit incense stick, and they only help you decide where to look.
Visual cues
Inspect walls and ceilings with a torch held at a low angle to the surface, which makes surface irregularities easier to see.
| Visual cue | Where to look | What it may indicate |
|---|---|---|
| Darkened patches | Wall corners, window reveals, ceiling-to-wall junctions | Inner surface running colder than the room air |
| Peeling paint or lifting wallpaper | Edges along external walls, skirting level | Possible moisture behind the finish |
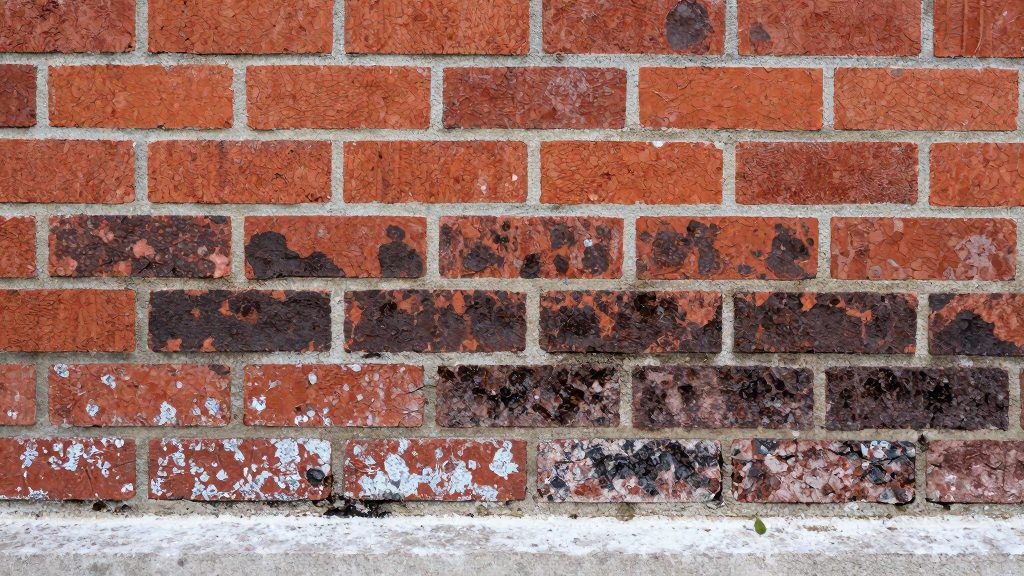
| Efflorescence (white, powdery salt deposits) | Brick, render and masonry near ground level or wall heads | Water moving through the material and evaporating at the surface |
Record each cue with its position on a simple plan of the room. Repeated marks in the same corner or along the same wall may point to a common cause, such as a thermal bridge, but a visual check cannot confirm it.
Tactile checks
Run the back of your hand across suspect areas at the same height and with similar pressure. A patch that feels distinctly colder than the wall beside it, at the same height, is a clue to investigate further. It may be a bridge, but drafts, moisture or missing insulation can feel the same. Focus on:
- Window reveals and lintels above openings
- Corners where external walls meet
- Edges of solid floors and where internal walls join external ones
Metal fixtures and glass feel colder than plaster at the same temperature because they conduct heat more readily. Compare like with like, such as wall against wall, rather than a radiator valve against a plaster wall.
Draught tracing with smoke and incense
Smoke shows the direction of air movement, so it reveals the paths through which air leaks. Hold a lit incense stick or smoke pencil close to suspected gaps and observe where the smoke goes:
- Smoke pulled sideways or into a gap indicates air entering the room.
- Smoke pushed away from a gap indicates air leaving the room.
Test baseboard joints, outlets, window and door frames, the attic hatch, mail slots and the points where pipes or cables pass through walls. Work on a calm day, because wind outside disturbs the smoke and makes results hard to read.
How does infrared thermography work?
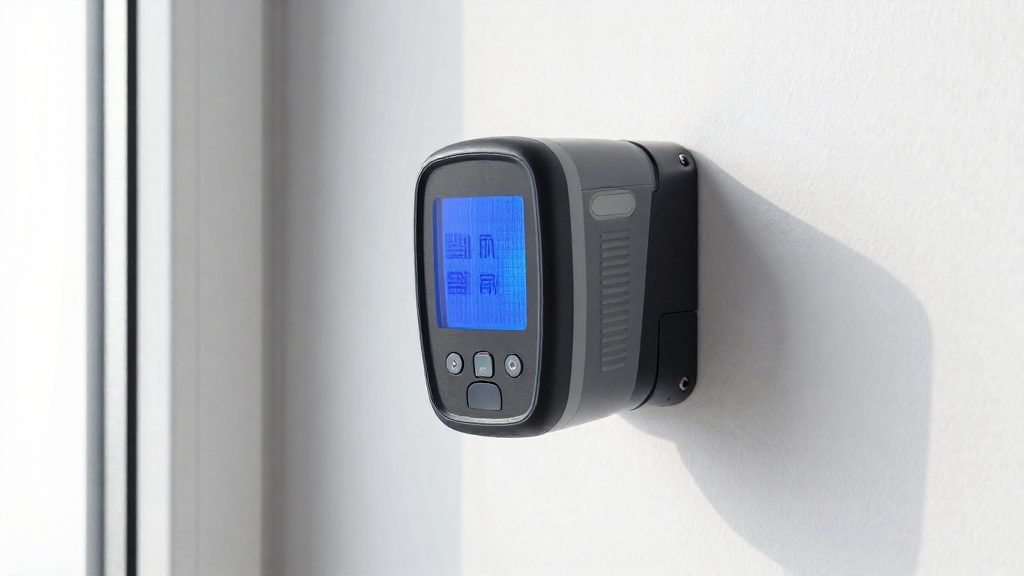
Infrared thermography is a non-destructive way to locate thermal bridges, insulation gaps, air leakage, and moisture, and it avoids drilling or dismantling parts of the building, according to the Carbon Trust (2017). The camera does not see inside a wall. It detects the infrared radiation emitted by the visible surface and converts that radiation into a temperature image, so the result describes the surface, not the layers behind it.
The measurement principle
Every surface emits infrared radiation, and the amount depends on its temperature. The camera translates that radiation into a colour-coded thermal image. Areas that appear colder than their surroundings may indicate a thermal bridge, a gap in insulation, or moisture, but the image alone does not confirm which one. Surveyors compare patterns across the whole wall, floor, or ceiling to see whether a cold area is continuous, repeated, or isolated.
Emissivity: why the surface material changes the reading
A camera assumes a certain emissivity, meaning how efficiently a surface emits radiation compared with a perfect emitter. If the surface’s real emissivity differs from the setting, the displayed temperature is wrong. According to Designing Buildings, the materials below behave differently in practice:
| Surface material | Behaviour in a thermal image | Reading reliability |
|---|---|---|
| Brick | High emissivity | Dependable |
| Plaster | High emissivity | Dependable |
| Metal | Reflects surrounding temperatures | Can mislead |
| Glass | Reflects surrounding temperatures | Can mislead |
Why the results are qualitative
Infrared surveys are usually qualitative. They show relative differences and patterns, not a verified temperature for each component of the building. Reliable interpretation requires trained surveyors, who can distinguish a true thermal anomaly from a reflection or an emissivity artefact, according to Designing Buildings.
A cold spot also has several possible causes. Retrotec notes that a cold spot on an infrared image does not identify its cause, which could be missing insulation, moisture, drill holes, or drafts. A thermal image therefore records where a temperature difference appears; establishing why it appears requires interpretation and, where needed, confirmation by other methods.
When is the best time for a thermal scan?
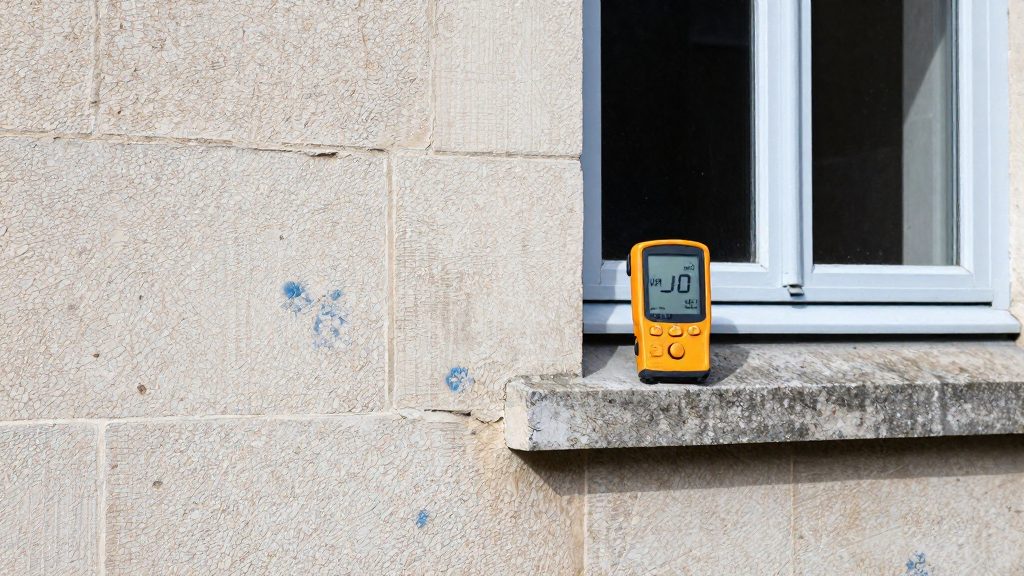
A reliable thermal scan depends on weather and temperature more than on the time of day. For exterior surveys, the Carbon Trust (2017) recommends no solar radiation and no precipitation, an indoor-outdoor temperature difference of at least 5°C (about 9°F), and more commonly 10°C (18°F), with wind at or below 10 m/s (about 22 mph). Interior surveys face fewer restrictions, but a larger temperature difference still reveals more detail.
Exterior survey limits
Exterior scans are the most sensitive to conditions because sun, rain and wind change the surface temperature of the wall you are scanning, which can hide or mimic the temperature pattern of a thermal bridge. Interior surveys are less restricted, but a larger indoor-outdoor temperature difference still shows more detail.
| Condition | Recommended limit for exterior survey (Carbon Trust, 2017) |
|---|---|
| Solar radiation | None: surfaces must not be heated by sun |
| Precipitation | None |
| Indoor-outdoor temperature difference | At least 5°C (about 9°F); 10°C (18°F) more common |
| Wind speed | At or below 10 m/s (about 22 mph) |
Sun-warmed walls can show false warm areas, and wet surfaces cool by evaporation, which distorts readings. Plan the survey for an overcast, dry day with a steady temperature gap.
Interior survey scheduling
Interior surveys have fewer weather constraints because sun and rain do not reach the inside face of the wall. The main variable is the temperature gradient between rooms and the outdoors. A larger gap makes thermal bridges, insulation gaps and air leakage stand out more clearly.
- Run the heating steadily before the survey so the indoor air and wall temperatures stabilise.
- Keep doors and windows closed during the scan, so the gradient is not disturbed by drafts.
- Scan on the coldest days that are still within your comfort and safety range, since the gap is largest then.
Why is a blower door test useful alongside the camera?
A blower door test uses a calibrated fan, usually mounted in an exterior doorway, to depressurize the building. The fan extracts air, so indoor pressure drops below outdoor pressure. That pressure difference pulls outside air through every unintended opening in the envelope, including gaps around windows, sockets, service penetrations, and loft hatches. The test turns a passive problem into an active one: leaks that are normally too small to notice become measurable airflow paths.
A thermal camera shows surface temperature, not airflow. Running the fan while scanning gives the two methods complementary roles:
- Depressurization creates the air movement. Cold outdoor air entering through a leak lowers the temperature of nearby surfaces, so the leak pattern becomes visible in the thermal image.
- The thermogram shows where those temperature changes occur. Streaks and cold areas that line up with an air path are strong candidates for real leakage.
Combining thermography with depressurization shows where air actually leaks, which separates draft-driven cold spots from other causes. A cold area with no measurable air movement still needs another explanation, such as a thermal bridge through a solid element or a past drilling point.
How do thermal bridges lead to condensation and mold?
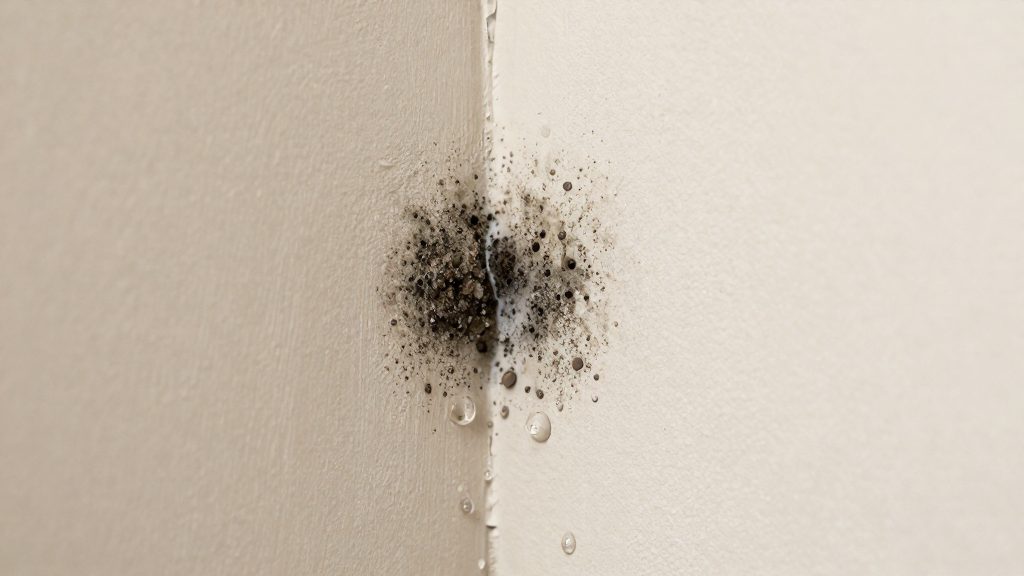
Condensation forms when warm indoor air carrying water vapour touches a surface at or below its dew point, the temperature at which that air becomes saturated. Mold can then grow where a surface stays damp and organic material is present. A cold spot that stays wet can therefore become a mold site, and the sequence has three links: heat loss lowers the surface temperature, the surface reaches the dew point, and the moisture persists long enough to support growth.
Dew point and surface temperature
The dew point depends on the air’s temperature and moisture content, so it should be checked against the actual readings in each room. Two conditions drive the risk:
- Surface temperature at the thermal bridge falls below the dew point of the adjacent room air.
- Moisture production indoors (cooking, showers, drying laundry) keeps the air’s vapour content high.
When both occur, water deposits on the coldest part of the envelope first, which is usually the thermal bridge itself.
Relative humidity at cold surfaces and mold growth
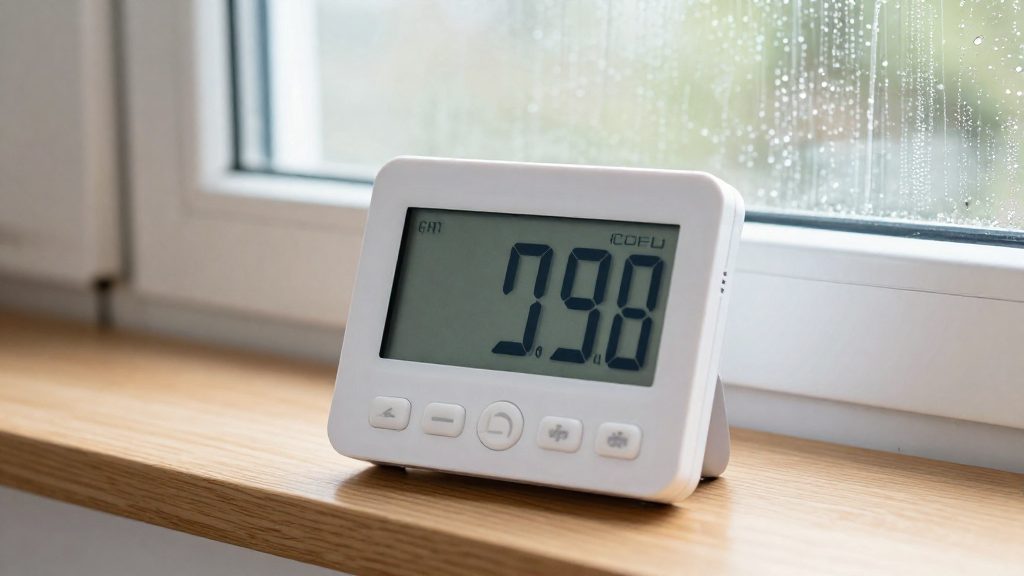
Relative humidity rises as air cools, even when its moisture content stays the same. The air layer touching a cold surface therefore reaches a higher relative humidity than the room average, and a surface can stay damp while the room’s hygrometer reading looks acceptable. The key measure is whether a surface stays wet over time, not a single reading.
Common mold genera and health effects
Visible mold at a suspected thermal bridge indicates a moisture source that needs to be identified and removed, not only cleaned. If occupants have respiratory symptoms, or if the mold is extensive or keeps returning, seek advice from a health professional and a qualified building professional.
When should you hire a pro?
A DIY investigation is useful for mapping suspicious areas, but it stops being sufficient once findings must be interpreted, moisture is involved, or a decision depends on the result. Infrared images and simple checks can show where a problem may be. Bring in a qualified surveyor or energy auditor when your own observations point to a recurring or structural problem.
Signs that warrant professional diagnosis
- Recurring mold that returns in the same place after cleaning and ventilation changes. Recurrence points to a persistent moisture source inside the wall or envelope, which a surface treatment will not fix.
- Repeated cold spots in the same wall or corner, where you cannot tell whether the cause is missing insulation, moisture, drill holes or drafts.
- Structural damage of any kind. The decision rests on a qualified inspection rather than a DIY estimate.
| Finding | Reasonable DIY step | Escalate when |
|---|---|---|
| Cold spot on an infrared image | Record location and survey conditions | It repeats in the same place or its cause stays unclear |
| Mold | Document the affected area | It returns after cleaning |
| Suspected air leakage | Note drafts and their locations | You need to confirm the actual leak paths |
Surveyor qualifications and interpretation
Surveys of this type are usually qualitative, and reliable interpretation requires trained surveyors, according to Designing Buildings. Ask who performed the interpretation and whether the report states the survey conditions. A report that omits the survey conditions gives you no basis for checking its findings.
Scope of a formal energy audit report
The U.S. National Park Service states that an energy audit may use a blower door test or infrared thermography to identify specific areas of infiltration, lack of insulation, or thermal bridging. A report should therefore name the methods used and the specific defects each one identified. A report should therefore name the methods used, since a report relying on only one method leaves some causes unconfirmed.
Frequently asked questions
Can I find thermal bridges in my house with an infrared camera?
Yes. Infrared thermography locates thermal bridges, insulation gaps, air leakage, and moisture without drilling or dismantling any part of the building, according to Carbon Trust (2017). For exterior surveys, Carbon Trust recommends no solar radiation or rain, an indoor-outdoor temperature difference of at least 5°C (about 9°F) and preferably 10°C (18°F), and wind at or below 10 m/s (about 22 mph).
Does a cold spot on a thermal image confirm a thermal bridge?
Not on its own. A cold spot shows where heat escapes, but it does not reveal the cause, which could be missing insulation, moisture, drill holes, or drafts, according to Retrotec. Pairing thermography with a blower door test, which depressurizes the building, shows where air leaks in, so you can separate air leakage from conductive heat loss.
Which surfaces can give misleading thermal readings?
Readings from brick and plaster are dependable because these materials have high emissivity, meaning they emit infrared radiation efficiently. Metal and glass reflect the temperature of their surroundings, so they can look colder or warmer than they are, according to Designing Buildings. Thermal surveys are usually qualitative, and reliable interpretation requires a trained surveyor.