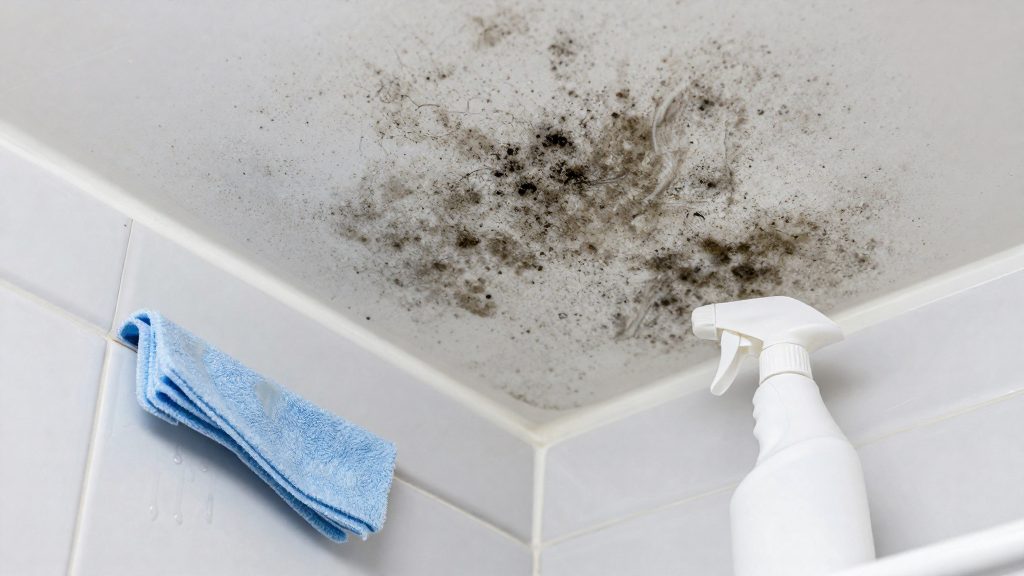
Black mold on a bathroom ceiling can affect health, but the risk depends on how much mold is present, how long people are exposed, and who is exposed. In practice, treat any visible growth as a problem to address promptly, and take extra care when a sensitive person uses the room.
Is black mold on a bathroom ceiling dangerous?
Who faces higher risk
Children, people with asthma, and immunocompromised people are commonly described as more vulnerable to mold exposure. A bathroom is usually shared, so a ceiling problem affects everyone who uses that room, including the people with the greatest sensitivity.
Typical symptoms
Reported symptoms linked to mold exposure include coughing, wheezing, and irritation of the eyes and skin. These signs are not specific to mold. Colds, allergies, and other indoor air irritants can produce the same symptoms, so a pattern that improves when a person leaves the room is a useful clue. Persistent or worsening symptoms warrant medical advice.
Why color does not confirm toxicity
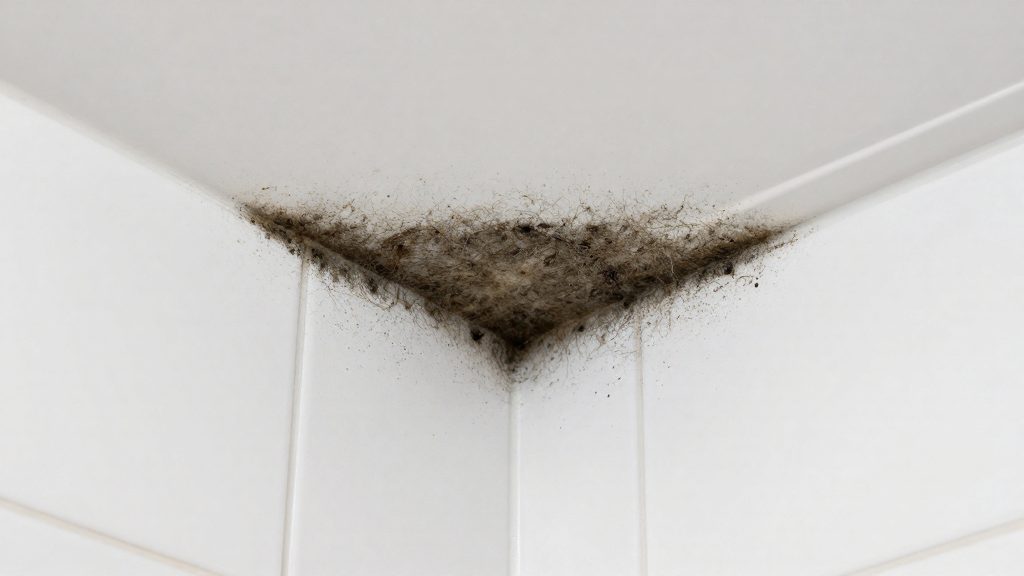
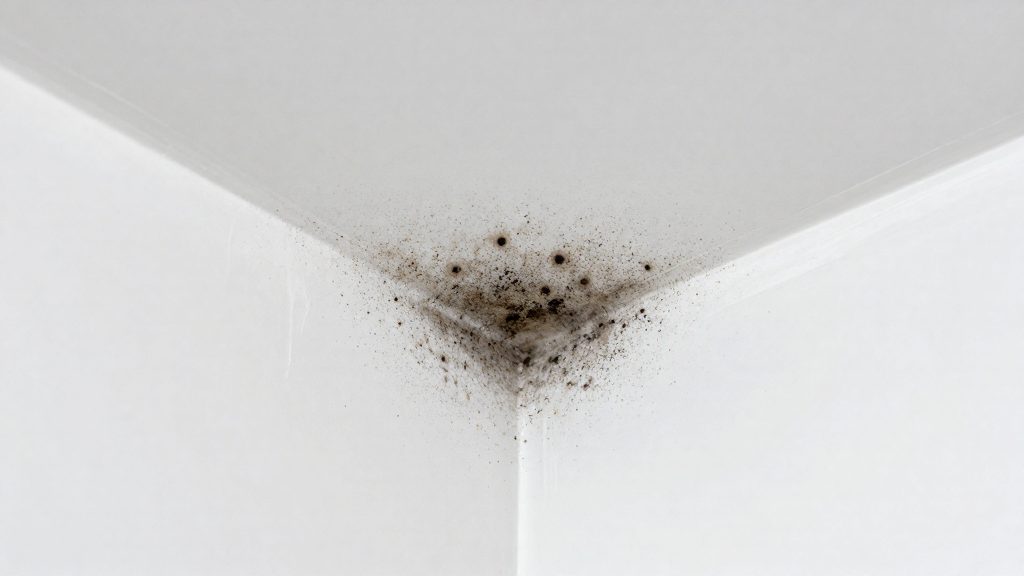
The color of a growth does not reveal its species or whether it produces harmful compounds. Black, dark green, and gray patches can look alike to the untrained eye, and a dark patch that is not black is not automatically harmless. Identifying a species requires laboratory analysis.
When to DIY and when to call a pro
Two thresholds decide whether a homeowner can clean a bathroom ceiling or should bring in help: the affected area and the extent of water damage. According to the U.S. EPA (2026), a moldy area smaller than about 10 sq ft (roughly 3 ft × 3 ft) can usually be cleaned by the homeowner. Larger areas, or areas with heavy water damage, call for a professional or for EPA’s larger-building remediation guidance. Judging whether water damage is heavy requires a visual and physical assessment of the ceiling.
| Condition | Recommended route |
|---|---|
| Moldy area under about 10 sq ft (roughly 3 ft × 3 ft) | Homeowner cleaning is usually appropriate |
| Heavy water damage, regardless of area | Professional assessment |
| Area larger than about 10 sq ft | Follow EPA’s larger-building remediation guidance, typically with professional help |
Measuring the affected area
Measure the visible mold growth before deciding. For a rectangular patch, use length × width. Irregular patches can be estimated by drawing a rectangle around the outer edge of the growth. Estimating from the center of the stain alone tends to underestimate the area.
Judging water damage
Water damage is assessed separately from the mold area. A small patch can still point to a serious moisture problem if the ceiling material is saturated. Where water damage looks heavy, the EPA guidance calls for a professional even when the mold itself is under about 10 sq ft.
Gear and prep before you start
Once the job is within homeowner scope (see the thresholds above), gather the following gear.
Personal protective equipment
The EPA lists three items as the recommended protective gear:
| Item | Requirement |
|---|---|
| N-95 respirator | Properly fitted to the face |
| Long gloves | Reach mid-forearm |
| Goggles | No ventilation holes |
A N-95 respirator only works when it seals against the face, so check the fit every time you put it on. Pull the gloves up over the sleeve cuffs so no skin is exposed at the wrist or forearm. Use goggles without ventilation holes, as the EPA specifies, so that airborne debris has fewer openings to reach your eyes.
Avoid bare-hand contact at every stage
The EPA advises against touching mold with bare hands. Put on gloves before you open a cleaning container or approach the ceiling, and keep them on until the work is finished. Avoid touching your face, phone, or other items while wearing contaminated gloves.
Setup checklist
- Prepare disposal bags. Have sealable bags ready before you begin.
- Clear the room. Remove items from under the work area so that debris does not settle on them.
How to remove mold from a bathroom ceiling
Removing mold from a bathroom ceiling works in a fixed order: stop the water, remove the mold, dry the surface, and decide whether any material must be replaced.
Step 1: Repair the water source
Cleaning before fixing the leak or condensation problem is wasted effort, because the moisture keeps feeding new growth. Look for the source first: a leaking pipe, a damaged seal around the bath or shower, or a roof or wall penetration above the ceiling. Repair it before you touch the mold.
Step 2: Scrub hard surfaces with detergent and water
On hard surfaces such as painted drywall or tile, scrub with detergent and water. The goal is to remove the mold physically, not just kill it. The EPA notes that dead mold can still cause allergic reactions, so it must be taken off the surface.
Step 3: Dry the surface completely
Dry the ceiling fully before anything else is applied. Damp residue lets mold return.
Step 4: Discard porous materials that cannot be dried
Porous materials such as ceiling tiles may need to be thrown away. If a tile cannot be fully dried after cleaning, replace it rather than keeping it.
| Step | Action | Why it matters |
|---|---|---|
| 1 | Repair the water source | Stops the moisture that feeds regrowth |
| 2 | Scrub hard surfaces with detergent and water | Removes mold, which can still cause allergies when dead |
| 3 | Dry the surface fully | Damp residue allows mold to return |
| 4 | Discard porous ceiling tiles that cannot be fully dried | Porous material may hold mold that cleaning cannot reach |
Vinegar, detergent or bleach?
The U.S. EPA does not recommend chlorine bleach or other biocides as a routine part of mold cleanup, according to the U.S. EPA (2026). Killing the mold is not the goal. Removing it is. A disinfectant that kills spores on a ceiling does not make the ceiling safe to leave in place.
| Cleaning agent | EPA position (U.S. EPA, 2026) | Practical implication |
|---|---|---|
| Detergent and water | Recommended for scrubbing hard surfaces | Removes the mold physically, followed by full drying |
| Chlorine bleach | Not recommended as routine practice | Not a routine cleaning step on ceilings |
| Other biocides | Not recommended as routine practice | Do not replace removal with a chemical treatment |
| Vinegar | Not stated | No EPA-backed efficacy claim can be made for it |
Choosing an agent in practice
Vinegar should not be presented as a verified alternative for mold on ceilings.
Can you paint over it?
No. The U.S. EPA advises against painting or caulking over moldy surfaces. Clean and dry the surface first, because paint over mold is likely to peel (U.S. EPA, 2026-02-18). A coat of paint changes the color of the ceiling but does nothing about the growth underneath. A film applied over a surface that still carries mold has no reliable bond, so peeling is the expected result.
The bigger problem is what the coating hides. Paint seals the mold and the moisture behind it. If the water source has not been fixed, the moisture that fed the growth stays in the material under the film, and the colony keeps developing where you cannot see it.
Caulk follows the same logic. The EPA guidance names caulk alongside paint, so a bead of sealant applied over mold carries the same failure risk. Sealing a gap around a tub or fixture while mold remains traps the same moisture and gives you a joint that will not hold.
Porous materials are a separate case. Painting does not make a porous ceiling tile safe.
| Surface condition | Paint or caulk? |
|---|---|
| Mold still visible | No, per EPA guidance |
| Hard surface, cleaned, fully dry, water source fixed | Painting can follow |
Stop it coming back: fan, humidity and hygrometer
Mold on a bathroom ceiling returns when moisture condenses on cool surfaces faster than it can dry. Cleaning removes the growth but does not change that balance, so prevention depends on controlling the air. According to the U.S. EPA (2026), two measures do most of the work: venting steam at its source and keeping relative humidity within a defined range that can be checked with an inexpensive instrument.
Ventilate at the source
Showers add a lot of moisture to a bathroom. The EPA recommends running the bathroom fan or opening a window during every shower. Moisture-producing appliances should also be vented outdoors rather than released into the room. A damp bathroom needs more ventilation and more frequent cleaning, so both schedules should be set together.
Set a humidity target
The EPA gives two figures for indoor relative humidity:
| Indicator | EPA guidance (2026) |
|---|---|
| Upper limit | Keep below 60% |
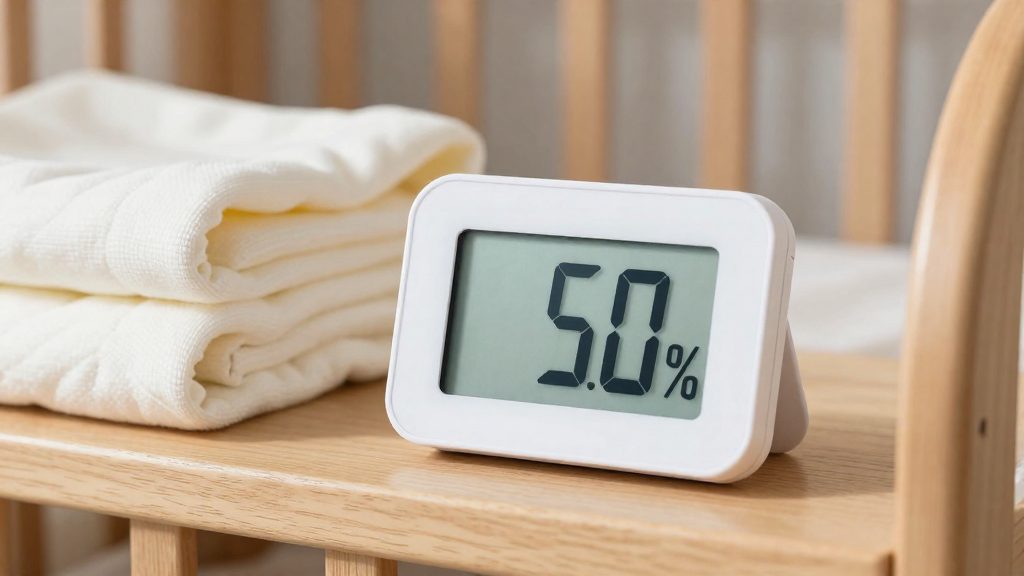
| Target range | 30% to 50% |
Staying under the upper limit is the minimum goal. The target range leaves a margin in both directions, so the air is not left wet enough to support growth.
Measure with a hygrometer
A hygrometer is the only way to confirm these levels rather than guess them. The EPA notes that a device costing about $10 to $50 can measure indoor humidity. Check the reading after a shower and again later in the day. If it stays above 60% between showers, humidity is too high. Check ventilation and look for other moisture sources.