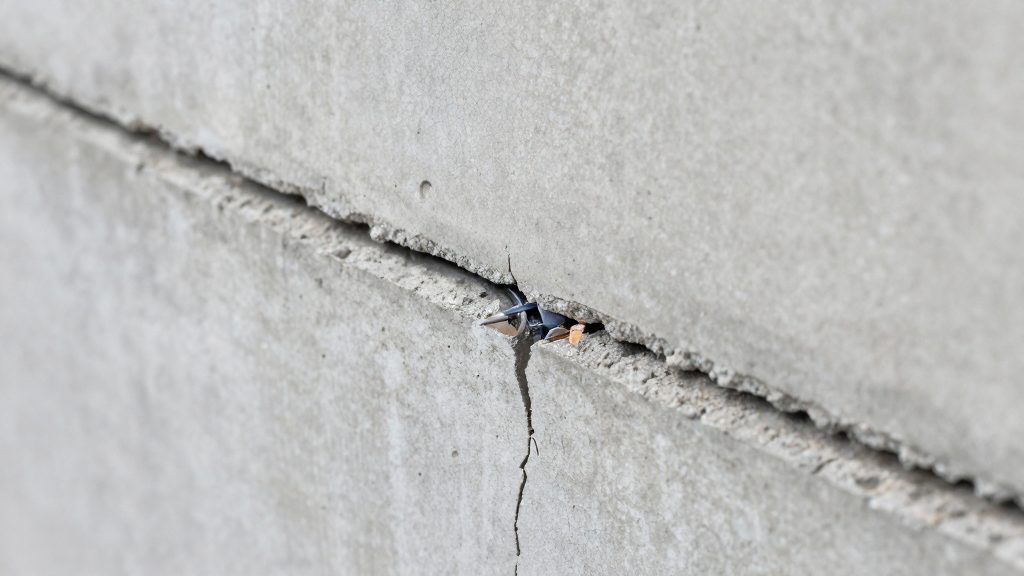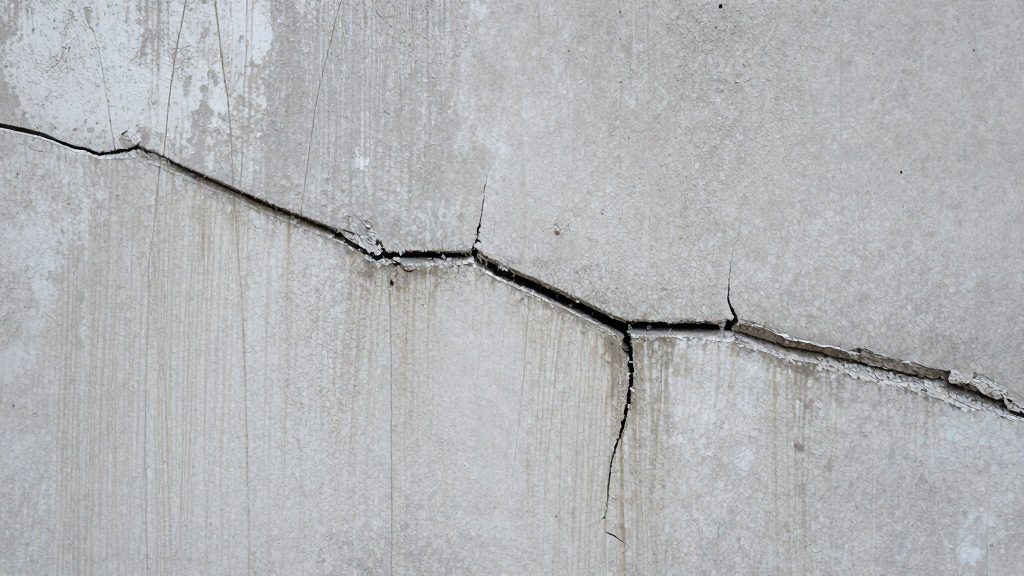
Hairline cracks in poured concrete basement walls are common, but a common crack is not automatically harmless. Classification depends on the crack’s width, pattern, whether it changes over time, and whether it lets in water.
Are hairline cracks in basement walls normal?
Shrinkage cracks from curing and settling
Concrete loses water as it cures and shrinks slightly, which can leave fine shrinkage cracks in a wall poured in place. These are usually narrow and stable. Settling of the building and the soil beneath it adds a different kind of stress. A crack that appeared early and has not changed is different from one that keeps growing.
Crack orientation: vertical, horizontal and diagonal
The direction of a crack helps show where stress is concentrated. Record each crack’s orientation before deciding on a repair.
| Orientation | What to check |
|---|---|
| Vertical | Whether the width changes from top to bottom of the wall |
| Horizontal | Whether the wall bows inward |
| Diagonal | Whether the crack widens toward one end |
Width-based classification: hairline versus structural
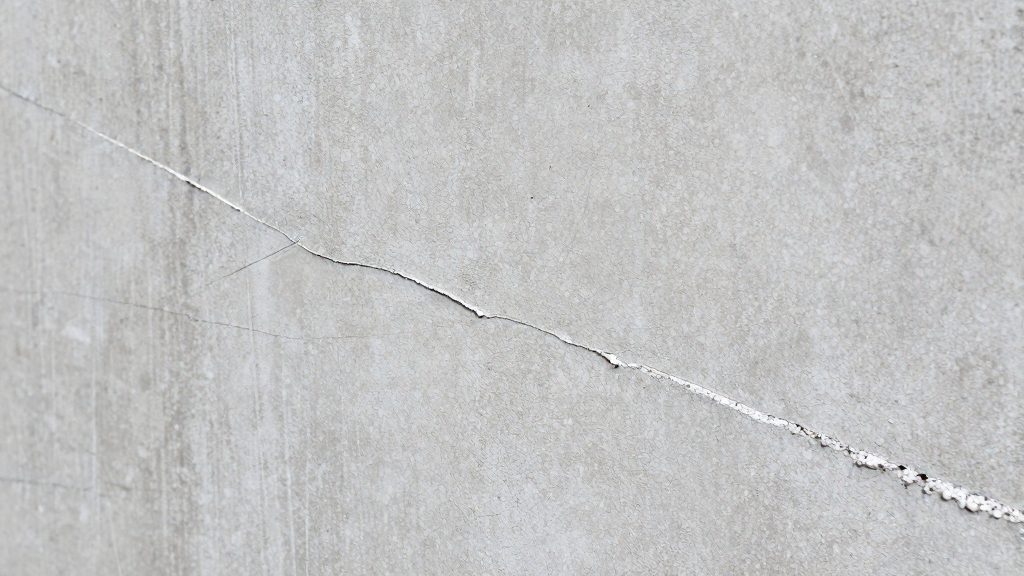
A hairline crack is the narrowest category. A crack wider than hairline, a crack that lets in water, and bowing walls all call for a professional assessment. Use these steps to track the crack:
- Measure the width at several points with a crack gauge or a ruler marked in inches, and record each reading.
- Mark both ends of the crack with a pencil and note the date.
- Recheck the marks over several months. A crack that extends past its marks or widens is no longer a stable hairline crack and calls for a professional assessment.
Why do hairline cracks leak water?
A hairline crack can leak because it opens a path through a wall that may be in contact with water. Water in the surrounding soil presses against the outside of the foundation, and even a very fine gap gives that water a route inside. According to AccuLevel (foundation repair contractor), hydrostatic pressure from excess soil water, freeze-thaw cycles, and soil erosion or settling are leading causes of basement wall cracks. The same source notes that porous materials such as poured concrete, brick and block also let water pass through. A crack does not need to be wide to admit moisture, because the wall material and the pressure behind it do much of the work.
Hydrostatic pressure from saturated soil
When soil next to a foundation becomes saturated, water fills the spaces between soil particles and pushes sideways against the wall. Basement walls are retained by soil on one side, so they carry this load directly. A hairline crack that stays dry under normal conditions can begin to seep when the external pressure rises after heavy rain or meltwater, because the water is forced into the gap rather than draining past it.
Freeze-thaw cycles widening cracks
Water that enters a crack and freezes expands and pushes against the crack faces. When it thaws, the gap stays slightly wider, and the next rain or meltwater finds an easier path. Repeated over successive winters, these cycles can enlarge a hairline crack until it admits a noticeable volume of water.
Porous concrete, brick and block
Poured concrete, brick and block are porous, so water can move through the wall body as well as along visible cracks. A crack in a porous substrate gives water two routes to the inside face: the fissure itself and the material around it. This is why a crack that looks minor can still be linked to dampness on an interior wall. The permeability belongs to the material, so it exists whether or not a crack is present.
| Mechanism | How water gets in | Effect on the crack |
|---|---|---|
| Hydrostatic pressure | Saturated soil forces water into the gap | Pushes water through under pressure |
| Freeze-thaw cycles | Water freezes in the gap and thaws | Widens the gap over successive winters |
| Porous materials | Water moves through concrete, brick and block | Adds a second route beside the crack |
Is it a leak or just condensation?
Hairline cracks in a basement wall often look like the source of damp, but moisture on the surface can come from two different causes: water passing through the wall from outside, or water vapour from indoor air condensing on a cold surface. The two need different fixes, so a few simple checks can separate them before any repair is planned. A crack is not the only route, and moisture can seep through the wall material itself.
The plastic sheet test
The test shows which side of the wall the moisture comes from:
- Tape a sheet of plastic, such as a polyethylene sheet, flat against the wall. Seal all four edges completely so no air moves behind it.
- Leave it in place for several days, then remove it and check both faces.
- Moisture on the wall side of the sheet (between plastic and wall) points to water coming through the wall.
- Moisture on the room side of the sheet points to indoor humidity condensing on a cold surface.
Staining patterns versus condensation beads
Visual signs help separate the two causes:
| Feature | Water leak | Condensation |
|---|---|---|
| Typical location | Along or below a crack, or low on the wall | Cold corners, wall areas facing outdoors, and the wall behind furniture |
| Surface pattern | Streaks, tide lines and darker stains that follow the crack | Fine beads or an even film that covers the surface |
| Residue after drying | White mineral deposits or stain rings left behind | Usually none; the surface wipes clean |
| Response to weather | Wetter after soil saturation or rain | Tracks indoor humidity and cold spells |
Hygrometer readings near the wall
A hygrometer measures relative humidity and helps interpret the plastic sheet result. Place one near the wall surface, in the same room, and compare it with a reading taken in the middle of the room, away from the wall. A reading near the wall that is clearly higher than the room reading suggests a local moisture source or poor air movement at that wall. Take readings at the same time of day over several days, because a single reading shows only a snapshot of conditions.
If wall-side moisture is confirmed, or water is visibly entering, treat it as water entry and arrange a professional assessment, because the wall may need waterproofing rather than crack repair alone.
How to fix a leaking hairline crack
AccuLevel, a foundation repair contractor, identifies epoxy fill as the recommended repair for narrow or hairline cracks. The steps below outline the epoxy injection sequence in order: preparation, port installation and filling, then curing and verification. The mixing ratio and cure time are set by the epoxy manufacturer and must be taken from the product label.
Preparing the crack
The crack must be dry, open and free of debris before any epoxy goes in. If the crack is actively letting in water, do not inject it yourself: arrange a professional assessment first. Use a stiff wire brush to remove loose paint, dust and efflorescence (the white mineral deposit that forms on masonry), then vacuum the crack channel. Hairline cracks often hold fine particles that block epoxy flow, so clearing the channel matters as much as clearing the surface.
Check that the wall around the crack is dry before bonding anything to it. Epoxy adheres poorly to damp masonry.
Installing injection ports and filling
Injection ports are small fittings bonded to the wall over the crack, spaced along its length. Attach them with the adhesive supplied for the purpose, then seal the wall surface between the ports so the epoxy cannot escape through the face of the wall. Inject from the lowest port upward, so the resin displaces air as it rises. Continue filling each port until epoxy emerges at the next one, then move up.
| Stage | Action | Check before moving on |
|---|---|---|
| Clean | Brush and vacuum the crack | Channel is free of dust and loose material |
| Seal | Coat the wall face between ports | No open gaps on the surface |
| Port | Bond ports along the crack | Each port is firmly attached |
| Inject | Fill from the lowest port upward | Epoxy shows at the next port |
| Cure | Leave undisturbed for the label time | Surface is fully hardened |
Curing and leak verification
Leave the epoxy undisturbed for the cure time on the label. Once it has hardened, remove the ports and grind the surface flush if needed.
To confirm the repair, observe the crack after heavy rain or a period of high indoor moisture. Keep indoor humidity within the EPA target range described below, which a hygrometer can confirm. Any damp patch that persists indicates the crack is still passing water.
When should you call a professional?
Hairline cracks that are stable and show no water entry are the case for a DIY repair; any water entry calls for a professional assessment. Three conditions move a basement wall problem into professional territory: water entry, a crack wider than hairline, and a bowing or inward-leaning wall. According to AccuLevel, a foundation repair contractor, each of these calls for a professional assessment, because the wall may need waterproofing rather than crack repair alone.
Threshold conditions
| Condition | Reason given | Action |
|---|---|---|
| Crack lets in water | May need waterproofing, not only crack repair | Professional assessment |
| Crack wider than hairline | Outside the hairline category | Professional assessment |
| Bowing or inward-leaning wall | Named as a professional-only condition | Professional assessment |
Checking for active water entry
Inspect the crack after rain or after a period of wet weather. Mark the edges of any dark or wet line with a pencil and note the date, so you can tell whether the crack is growing or leaking. Dampness that appears on the wall or floor should be dried within 24 to 48 hours, the EPA window for preventing mold growth in most cases. If materials stay wet beyond that, arrange a professional assessment.
Checking for wall movement
Hold a straightedge vertically against the wall, or drop a plumb line from the top of the wall. A gap that widens toward the middle of the wall, or a wall that visibly leans inward, indicates bowing. Record the readings and compare them over time. A wall that bows or leans inward calls for a professional assessment, regardless of crack width.
Can a dehumidifier stop basement dampness?
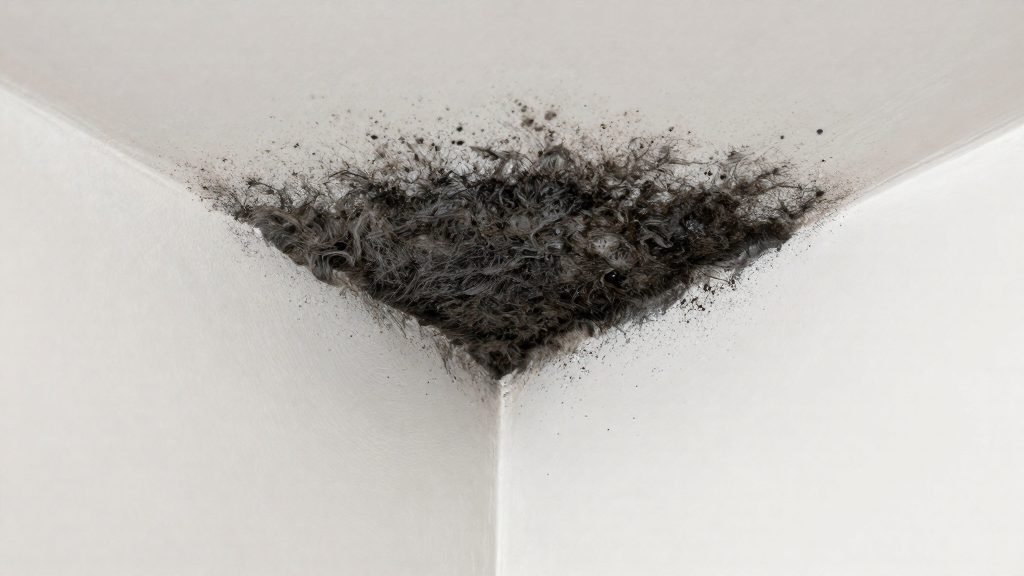
A dehumidifier can lower the moisture in basement air, but it cannot stop liquid water from entering through a wall crack. It removes water vapour from the air and does not seal masonry. The U.S. Environmental Protection Agency (EPA, 2026) suggests using air conditioners and/or dehumidifiers when needed to lower indoor moisture. This makes a dehumidifier a control for humidity, not a fix for water intrusion.
Sizing a unit by daily water removal
Dehumidifiers are rated by how much water they extract from air over a day, under stated test conditions. To size a unit, compare the rated daily water removal with the moisture load of the space. A larger or damper basement needs a higher rating than a small, dry one. Compare the manufacturers’ stated ratings and the conditions under which each rating was measured.
Continuous drainage versus bucket operation
| Operating mode | How water is handled | Best suited to |
|---|---|---|
| Bucket operation | Water collects in an internal tank that must be emptied by hand | Short sessions and small spaces |
| Continuous drainage | Water exits through a hose to a drain or sump pump | Long runs and unattended operation |
A bucket-only unit shuts off when its tank is full, so a damp basement that needs overnight or multi-day operation depends on a drain connection.
Using a dehumidifier after a leak or spill
After a leak, drying the affected materials is the goal; a dehumidifier running in a space that stays wet does not achieve it.
What humidity level prevents mold?
The U.S. Environmental Protection Agency (EPA, 2026) advises keeping indoor relative humidity below 60 percent, ideally between 30 and 50 percent. This range is the EPA’s general indoor target for limiting mold growth, and it also applies to basements. The EPA guidance sets a ceiling and a working range rather than a single percentage at which mold begins.
Indoor humidity targets
- Upper limit: below 60 percent relative humidity (EPA, 2026)
- Ideal range: 30 to 50 percent relative humidity (EPA, 2026)
Mold conditions on porous basement materials
Because moisture can move through porous masonry, damp masonry can hold water that a room humidity reading does not show. Mold risk on porous masonry therefore combines three factors:
- A moisture source, such as water entering through a cracked or porous wall.
- Indoor air above the 60 percent ceiling, which keeps surfaces from drying.
- Time, meaning how long the material stays wet.
The 24 to 48 hour drying window
According to the EPA (2026), if wet or damp materials are dried within 24 to 48 hours after a leak or spill, mold will in most cases not grow. Drying in this window depends on removing standing water first, then keeping the affected material and surrounding air dry while checking that the material returns to a dry state. The guidance applies to materials that were wet after a specific event. A patch that stays damp for longer than that window falls outside what the EPA describes.
Fix the source: drainage and grading
Surface water is one of the main external sources feeding cracks in a basement wall. The U.S. Environmental Protection Agency (2026) advises grading the ground so it slopes away from the foundation, which keeps water from entering or collecting around it. When soil falls toward the wall, rain and meltwater pool against the concrete and seep into any open crack. The fix therefore starts outside the house, not at the crack itself.
Grading slope so the ground falls away from the foundation
Grading means shaping the soil next to the foundation so the surface drops steadily from the wall outward. Rain then runs off instead of soaking in at the base. Check the slope after heavy rain by looking for puddles, soft patches, or soil that has settled back toward the house. To regrade, add compacted soil near the wall, taper it outward, and confirm the finished surface still falls away. Judge the fall by whether water visibly runs off.
Gutter and downspout discharge distance from the walls
Downspouts are the most common point where a roof concentrates water onto the ground beside the foundation. A downspout that discharges right at the wall keeps the soil saturated exactly where the cracks sit. Extend the outlet so it empties onto ground that already slopes outward, and clear the gutters so overflow does not spill over one spot and run down the wall.
Soil erosion and settling beneath footings
When soil washes out or compacts unevenly, the footing can lose support, the wall moves, and the resulting cracks admit water. Watch for bare channels in the soil beside the foundation, depressions along the wall, and cracks that widen over time. Refilling eroded areas and correcting the water paths that caused them belong to the drainage work.
| Water source | Effect on the wall | What to check |
|---|---|---|
| Ground sloping toward the wall | Water pools against the foundation | Puddles after rain |
| Downspout discharging at the wall | Soil stays saturated at crack locations | Outlet position relative to the wall |
| Eroded or settled soil | Uneven footing support, wider cracks | Bare channels, depressions along the wall |
Frequently asked questions
Can a hairline crack in a basement wall let water in?
Yes. Soil pressure pushes groundwater against the wall, and according to AccuLevel, a foundation repair contractor, that hydrostatic pressure can force water through even a narrow opening, while porous poured concrete also allows some moisture to pass. A crack that already admits water usually needs waterproofing as well as crack repair.
What should I do about damp materials after water seeps in?
According to the U.S. Environmental Protection Agency (2026), if wet materials are dried within 24-48 hours after a leak, mold will in most cases not grow. The same agency advises keeping indoor relative humidity below 60 percent, ideally between 30 and 50 percent, and suggests a dehumidifier when needed.
Can I repair a hairline crack myself?
AccuLevel recommends epoxy fill for narrow hairline cracks, so a DIY repair is a reasonable option for a dry, stable crack. Any crack that leaks, is wider than hairline, or comes with a bowing wall should be assessed by a professional, since those cases may need waterproofing. The EPA also advises grading the soil so it slopes away from the foundation, which reduces the water pressure that drives leaks.