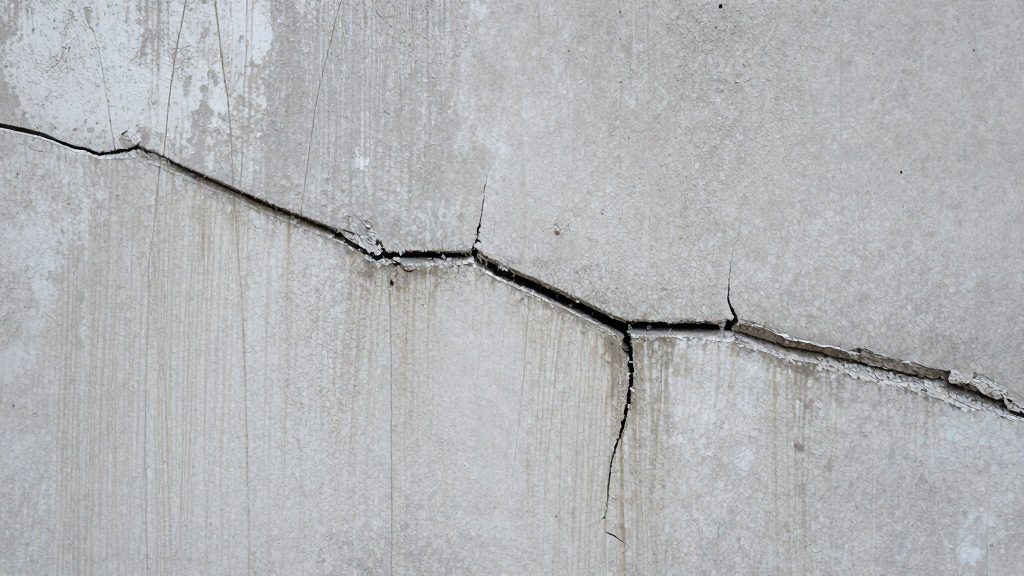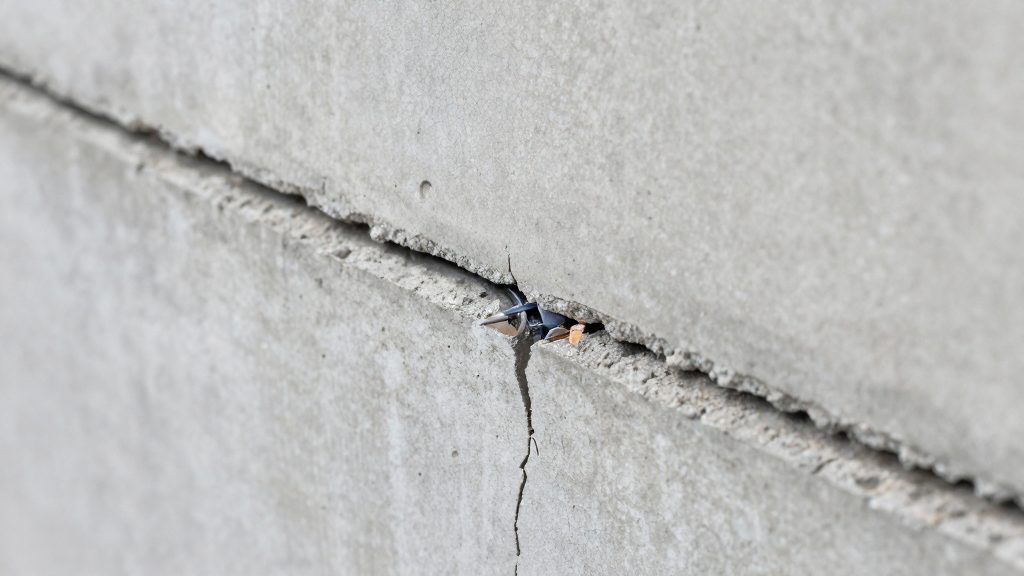
Water leaks through basement foundation cracks because the surrounding soil pushes it there. When the soil becomes saturated, it exerts hydrostatic pressure against the foundation wall, and that pressure forces water into any opening in the concrete. According to Polyguard Products (manufacturer), concrete is not fully impermeable: water enters through pores, micro-cracks and joints under this pressure. An existing crack is typically the largest and most direct of these openings, which makes it the easiest route for water to follow.
Why do basement foundation cracks leak?
How saturated soil creates the pressure
Soil around a basement wall holds water after rain or snowmelt. When that soil is saturated, the water in it presses laterally against the wall. This pressure originates in the ground, not in the room air, so the water source is usually outside the foundation. Because the force acts on the whole wall, it can push water inward at any point where the concrete gives way.
Entry routes through the concrete
| Entry route | How water moves through it |
|---|---|
| Pores | Water passes through the internal pore network of the concrete under hydrostatic pressure. |
| Micro-cracks | Fine fractures give water narrow channels through the wall. |
| Joints | Water enters at junctions in the concrete, under the same pressure. |
Why pressure pushes water through existing cracks
A pore or micro-crack forces water through material along a narrow, indirect path. An existing crack offers a continuous opening instead. If it runs through the full wall thickness, water can pass straight into the basement, and the pressure from the soil keeps pushing water along that channel for as long as the surrounding ground stays saturated.
Sealing a crack from inside closes the opening but does not reduce the saturation that generates the pressure. Exterior water control complements interior sealing, as Polyguard Products (manufacturer) notes, because it limits how much water reaches the wall in the first place.
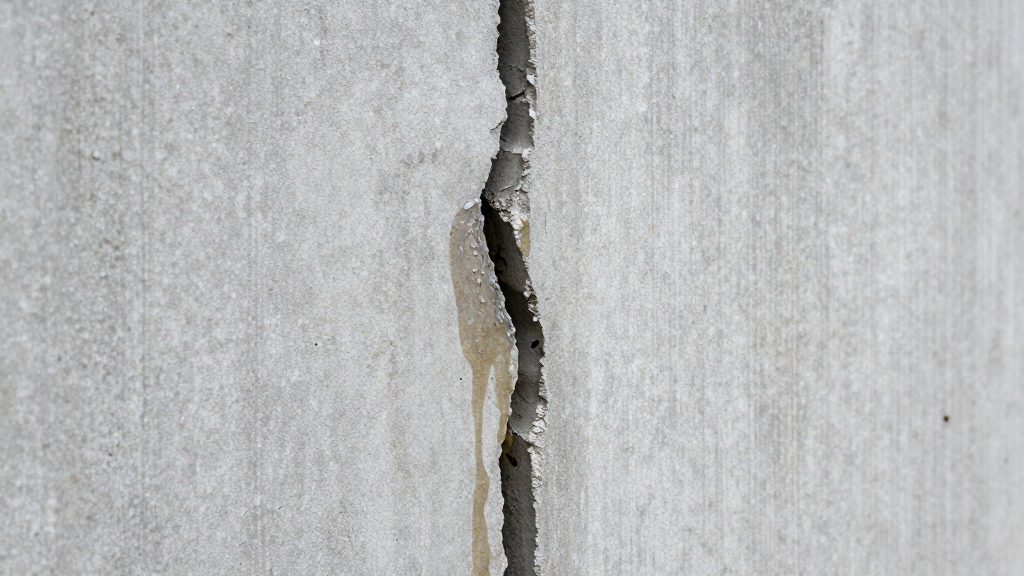
Is it a crack or condensation?
Before sealing a crack, confirm that water actually passes through it. Dampness on a basement wall has two common sources: water moving through the concrete, often along a crack, and humid indoor air condensing on a surface colder than the air beside it. Sealing a crack does nothing to stop condensation, so the distinction decides whether the repair will work. According to Polyguard Products (manufacturer), humid indoor air can also condense on cool concrete, so dampness is not always a leak.
How condensation forms on concrete
Condensation forms when moist indoor air touches a surface whose temperature has dropped to the dew point. Concrete foundation walls are often cooler than the room air, so a film of water can appear on them even when the wall is structurally sound and has no crack. According to the U.S. Environmental Protection Agency, condensation on cold surfaces signals high indoor humidity. The source is therefore the air in the room, and the remedy is to reduce indoor moisture and improve air circulation, not to fill the wall.
Condensation tends to look like a fine, even film or scattered droplets, and it often concentrates in corners, behind stored items, and on the coldest areas of the wall.
Tape-and-foil test
The tape-and-foil test is the method named by Polyguard Products (manufacturer) for checking trapped moisture. It separates the two sources:
- Choose a dry, clean patch of wall, away from the crack, and another patch directly over the crack.
- Tape a square of aluminum foil to each patch, sealing all four edges completely with tape.
- Leave the foil in place for the period specified in the test instructions (the sources consulted do not give a duration), then remove it and inspect both faces.
- Compare the results between the two patches.
| Where moisture appears | Likely origin |
|---|---|
| Under the foil, on the concrete surface | Moisture moving through the wall |
| On the room-facing side of the foil | Condensation from indoor air |
| Neither face, on either patch | No active moisture at that spot |
Moisture beneath the foil over the crack, but not on the clear patch, points to water entering at the crack. Moisture on the room-facing side of the foil on both patches points to condensation from indoor air.
Telltale signs of water through the wall
Visible marks distinguish leakage from surface condensation:
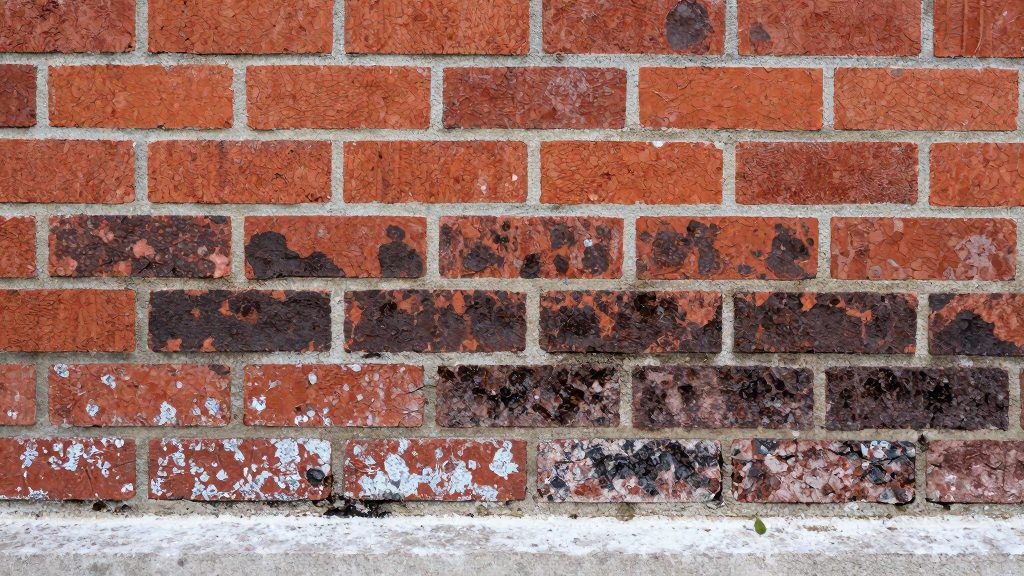
- Efflorescence: a white, powdery deposit left when water dissolves minerals in the concrete and evaporates at the surface. Its presence shows that water has moved through the wall at some point. Condensation on the surface is less likely to leave such a deposit, but the absence of efflorescence does not rule out a leak.
- Staining: tide lines or dark marks below a crack indicate a repeated flow path.
- Damp patches that follow a crack line indicate water entry. Patches with no crack nearby, or confined to cold corners, usually indicate condensation.
How to prepare a crack for sealing
Before any sealer touches a crack, the foundation wall around it must be dry, clean and sound. Polyguard Products (manufacturer) lists these conditions as the starting point for interior sealing. Preparation works in three stages: confirm the wall is dry, allow wet surfaces to dry, and remove loose material. Skipping a stage leaves the sealer over moisture or debris, where it cannot bond to the concrete.
Confirm the wall is dry with a moisture meter
Take readings on the wall within a short distance of the crack, not only on the crack line itself, since moisture can sit in the surrounding concrete.
| Check | What it confirms | Required outcome |
|---|---|---|
| Moisture meter reading | Moisture trapped inside the concrete | Wall tests dry before sealing |
| Debris removal | Loose material and contaminants are gone | Wall is clean and sound |
Allow wet surfaces 24 to 48 hours to dry
The U.S. Environmental Protection Agency advises drying wet buildings and furnishings within 24 to 48 hours to prevent mold growth (U.S. Environmental Protection Agency). The official sources consulted do not specify a concrete-specific cure time, so use this window as the benchmark for any wet area around the crack and confirm the result with the meter. Keeping indoor humidity within the target range during the drying window reduces the moisture the wall receives from indoor air.
Remove loose debris, dust and surface contaminants
Loose concrete fragments inside a crack can separate from the wall and take the sealer with them, so remove them first. Brush the crack and the surface around it, then vacuum the dust rather than sweeping it back into the gap. Remove any loose coating, grease or other contaminants on the surface. Polyguard Products (manufacturer) requires basement walls to be clean as well as dry and sound before sealing, so the surface should be re-checked after cleaning.
Which crack sealer works best?
No single sealer suits every crack. The right choice depends mainly on the crack’s width and depth. According to Polyguard Products (manufacturer), hairline cracks can be filled with patching compound, while wider or deeper gaps need hydraulic cement or epoxy. The official sources consulted do not give a width in millimetres or inches that marks the boundary between these categories, so the decision rests on how the gap looks and how far it runs into the wall.
Hairline cracks: patching compound
Patching compound is the material for fine cracks. It fills the surface opening but does not carry much load or fill a deep void, so it suits cracks that are shallow and narrow. Using it in a larger gap risks a fill that fails to reach the full depth of the crack.
Wider or deeper gaps: hydraulic cement or epoxy
Hydraulic cement is a cementitious, water-setting material. Hydraulic cement is used for filling wider gaps. Epoxy is a two-part resin that bonds to concrete and fills voids. The source names both as the options for gaps beyond the hairline range. It does not rank one above the other for a given crack, so the choice between them depends on the specific gap and the product instructions.
Matching the material to the water source
Sealer choice only matters if water is actually entering the wall. Condensation on cool concrete is a separate cause, and sealing does not address it.
| Crack or condition | Material or action per source |
|---|---|
| Hairline crack | Patching compound |
| Wider gap | Hydraulic cement or epoxy |
| Deeper gap | Hydraulic cement or epoxy |
| Damp surface with no leak, humid air condensing on cool concrete | Sealing is not the fix; reduce indoor moisture |
How to seal a foundation crack step by step
Sealing a basement foundation is a sequence, not a single pass. Work through the high-risk junctions first, then the open wall, and apply at least two coats at the manufacturer’s spread rate. According to Polyguard Products (manufacturer), the sealer should cover corners, window frames and pipe penetrations before the general wall surface, with each coat spread at roughly 75 to 100 sq ft per gallon. Those junctions are where water and humid air most often find a path, so they come first.
Application sequence
- Corners. Treat the inside corners where two walls meet, and where walls meet the floor slab. Corners are the first priority because they combine joints and changes in wall direction.
- Window frames. Seal the perimeter of each window frame where it meets the masonry or concrete. Work around the full frame, not only the visible gap.
- Pipe penetrations. Seal the openings where plumbing, cable or duct lines pass through the wall. Penetrations are a separate entry point from cracks and need their own coverage.
- Remaining wall surface. Once the priority locations are done, seal the rest of the wall in continuous passes, so the finish is even.
Coat count and spread rate
Use the spread rate on the product label to calculate how much material you need. For each coat, gallons required equal the wall area divided by the spread rate. The figures below come from the manufacturer guidance cited above.
| Parameter | Value |
|---|---|
| Minimum coats | At least two |
| Spread rate | Roughly 75 to 100 sq ft per gallon, per coat |
| Application order | Corners, window frames, pipe penetrations, then open wall |
Allow the drying time stated by the manufacturer between coats. Do not apply the second coat early to speed up the job, since the first coat must set before it can build the continuous layer the sealer depends on.
Reseal interval
Plan a reseal interval of roughly every 5 to 7 years, according to Polyguard Products (manufacturer). Record the application date on the wall or in a maintenance log, so the next reseal falls within that window.
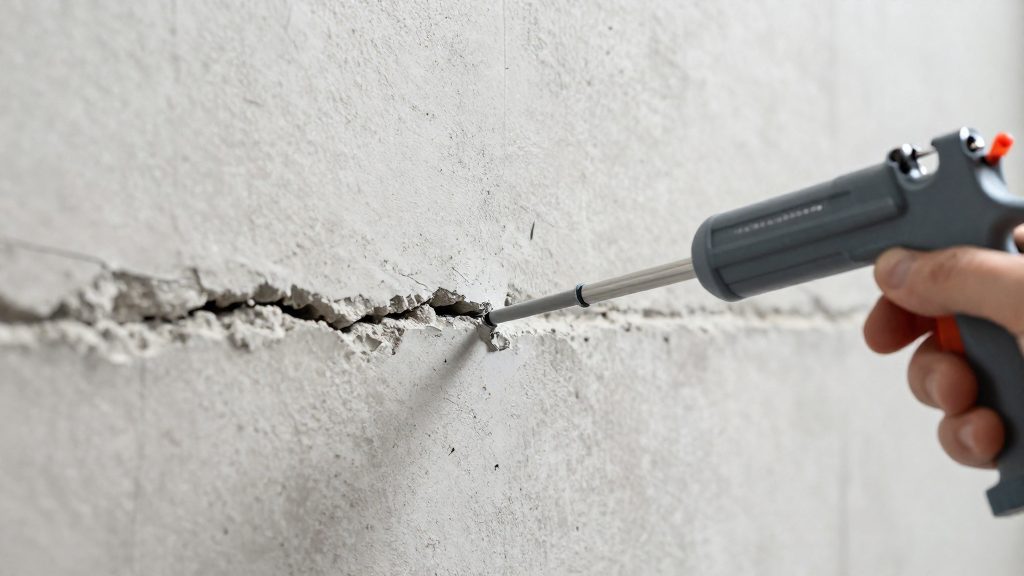
When is exterior drainage needed?
Exterior drainage is needed when surface water reaches the foundation faster than the soil and gutters can carry it away. Polyguard Products (manufacturer) presents exterior water control as a complement to interior sealing, not a substitute for it. If the outside of the foundation keeps receiving water, interior repairs treat only the symptom. Grading and downspout placement are the two parts of the exterior system that a homeowner can check and correct directly.
Soil grading standard
Polyguard Products (manufacturer) recommends grading the soil so it slopes at least 5% away from the foundation over the first 10 feet. A 5% slope over 10 feet means a fall of 6 inches across that distance, which is the minimum slope Polyguard recommends.
| Element | Standard |
|---|---|
| Soil slope | At least 5% away from the foundation |
| Graded distance | First 10 feet from the structure |
| Downspout extension | 6 to 10 feet from the structure |
Downspout extensions
Downspouts should discharge 6 to 10 feet from the structure, according to Polyguard Products (manufacturer). A downspout that empties at the wall concentrates a large volume of runoff against the same area of foundation during every rain event. Extensions move that discharge point beyond the graded zone, so the water reaching the soil near the wall is reduced.
Signs that interior sealing alone will not stop water
Interior work is unlikely to be enough when one or more of the following conditions is present:
- Dampness or staining returns on the same wall after each rain, even after a dry interior repair.
- Soil against the wall stays soft or wet for hours after rain, or water pools at the base of the foundation.
- Gutters overflow, or downspouts discharge within a short distance of the wall.
-
- Moisture persists under the foil in the tape-and-foil test after sealing.
Condensation tends to appear as beads of water on cool surfaces, usually without staining that follows a crack. If the wall is dry from the outside and the surface sweats only when indoor humidity is high, the problem is air moisture rather than water entry.
Do you need a dehumidifier after sealing?
It depends on measured humidity. Sealing blocks liquid water from entering through cracks, but it does not remove the water vapor already in the air. If your hygrometer shows RH staying above the EPA’s 60% limit (ideally 30% to 50%) after sealing, a dehumidifier can help. Once the leak is sealed, the remaining moisture often comes from the air itself.
Why sealing does not remove airborne moisture
Sealing works on liquid water, not vapor. Vapor moves freely through the air and condenses wherever a surface is cold enough, so a sealed basement can still feel damp. Polyguard Products (manufacturer) recommends testing for trapped moisture with a moisture meter or a tape-and-foil test. A tape-and-foil test that still shows moisture under the foil after sealing means the wall remains a moisture source. Find and fix that source (re-check the seal and exterior drainage) rather than relying on a dehumidifier alone.
Air purifiers and HVAC filters cannot remove moisture
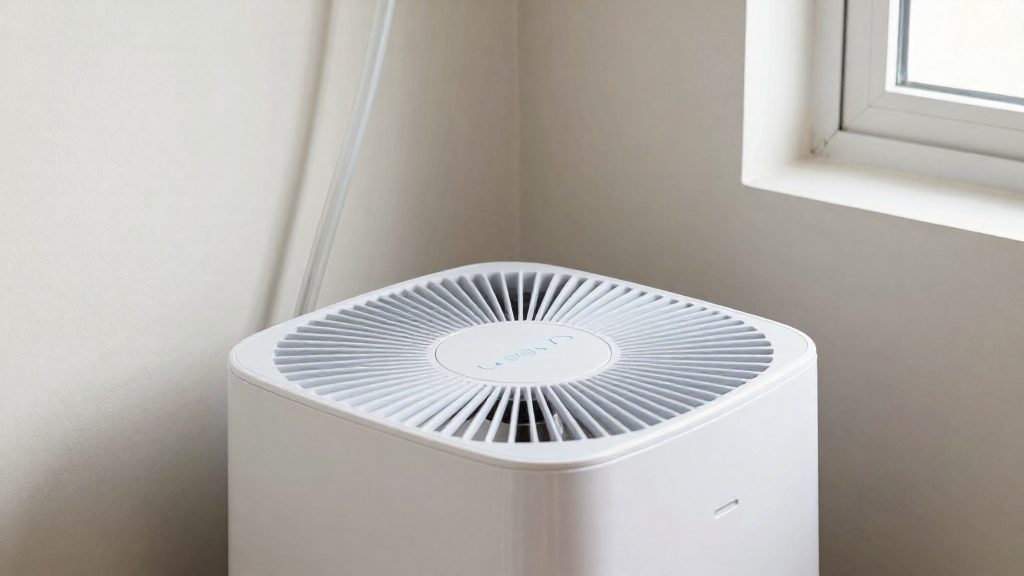
Air purifiers capture particles, and furnace or HVAC filters trap dust. Neither removes water vapor. According to the U.S. Environmental Protection Agency, air cleaners and furnace or HVAC filters will not solve a mold problem, because mold is caused by moisture that must be removed at its source. Running a purifier in a damp basement therefore does not reduce the humidity that supports mold growth.
Choosing dehumidifier capacity
Capacity should match the moisture load of the space, not only its floor area. A unit that is too small runs almost continuously and may never reach the setpoint. A unit that is too large cycles on and off in short bursts, which removes less moisture and wears the compressor faster. Check the rated capacity in the manufacturer’s specifications and compare it with the wetness of the basement during the damp season.
Setting the humidistat setpoint
The humidistat switches the unit off when the air reaches the setpoint and restarts it when humidity rises again. Set the value within the EPA target range (ideally 30% to 50% RH, and below 60%), because a setpoint that is too high lets damp air persist. A setpoint that is too low keeps the compressor running with little additional benefit. Adjust the setpoint in small steps and leave the unit running for several days before judging the result.
How to monitor basement humidity
Monitoring basement humidity means measuring relative humidity (RH) over time and comparing the results against fixed targets. The U.S. Environmental Protection Agency (EPA) advises keeping indoor relative humidity below 60%, and ideally between 30% and 50% where possible. A single reading is only a snapshot. The trend across days and seasons shows whether the basement stays within those limits.
Target bands
| Reading (RH) | Status against EPA guidance | Action |
|---|---|---|
| Above 60% | Outside the EPA upper limit | Identify the moisture source before the next reading |
| 30% to 50% | Ideal range | Keep monitoring at a consistent schedule |
| Below 30% | Below the ideal range | Note the reading; the sources consulted do not specify a corrective step |
Hygrometer placement
Place the hygrometer in open air, away from exterior walls, floor drains, sump pits, and the outlets of humidifiers or dehumidifiers. These locations produce readings that do not represent the room as a whole. The sources consulted do not specify a minimum distance from walls or a standard mounting height, so keep the position fixed once chosen. Changing the spot between readings makes the results impossible to compare.
Logging frequency
The official sources consulted do not specify a logging interval. A practical approach is to record readings at the same times each day and to add an extra reading after heavy rain or a plumbing event. Consistent timing matters more than frequency, because it allows direct comparison between days.
Interpreting readings across seasons
Read high values in context:
- Persistent readings above 60% across several seasons point to an ongoing moisture source.
- Short-lived spikes that fall back into range suggest a temporary cause, such as a wet event.
- Condensation on cold surfaces signals high humidity, according to the EPA.
Use the logged readings to confirm that RH returns to the target range after a water event. If it does not, the moisture source has not been resolved.
Frequently asked questions
How can I tell a leak from condensation on my basement wall?
Damp patches don’t always mean a leak, because humid indoor air can condense on cool concrete. According to Polyguard Products (manufacturer), dampness from indoor air is a different problem from water forced through the wall by soil pressure. The U.S. Environmental Protection Agency advises keeping indoor relative humidity below 60%, ideally between 30% and 50%, and treats condensation on cold surfaces as a sign of high humidity.
Which material should I use for a hairline crack compared with a wide gap?
According to Polyguard Products (manufacturer), fine hairline cracks can be filled with patching compound, while wider or deeper gaps need hydraulic cement or epoxy. Before applying any of these, the wall must be dry, clean and sound. Check for trapped moisture with a moisture meter or a tape-and-foil test.
Does sealing the inside of the wall stop the water at its source?
Not on its own. Interior sealing works best alongside exterior water control, because the grading of the surrounding soil determines how much water reaches the wall. Sloping the ground at least 5% away from the foundation over the first 10 feet, which is about 6 inches of fall, and routing downspouts 6–10 feet out reduces that load, according to Polyguard Products (manufacturer). Air cleaners and furnace filters will not clear mold caused by moisture, according to the U.S. Environmental Protection Agency.