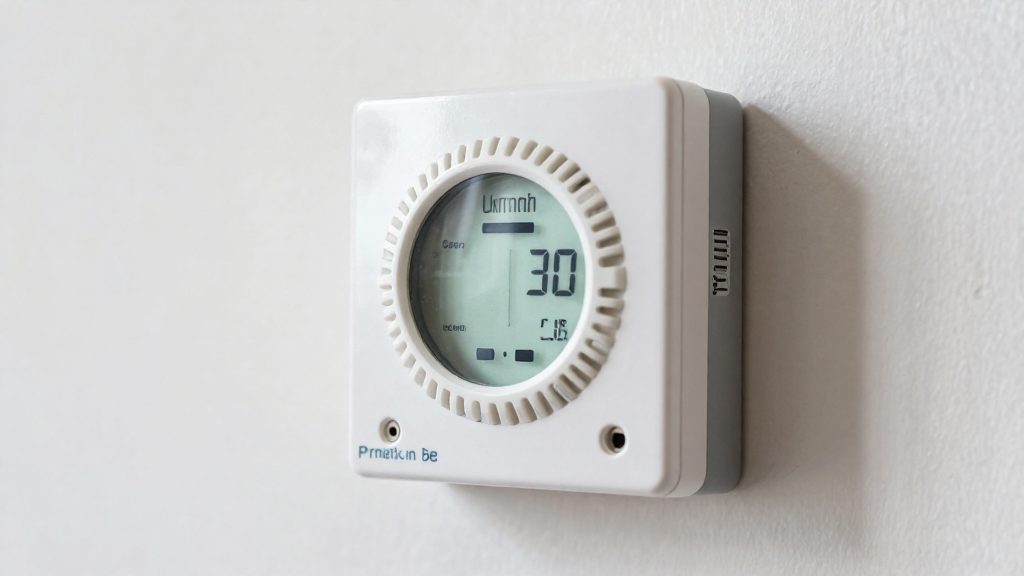
What does a furnace humidistat do?
A furnace humidistat is a humidity-sensing control that measures the relative humidity of indoor air and tells the furnace’s humidifier when to add moisture and when to stop. It does not produce moisture itself. It works as a switch that turns humidifier output on and off during heating, so its reading and target setting determine whether the humidifier runs at any given moment.
Sensing indoor humidity and triggering the humidifier
The humidistat compares the measured humidity of the room air with the target it has been given. When the reading falls below the target, the humidifier is allowed to run. When the reading reaches the target, the humidistat stops the humidifier. Because the control reacts to the measured value instead of running continuously, the humidifier adds moisture only while the air needs it. Carrier (2026) describes the humidistat as the control that governs when the humidifier operates during the heating season.
Mechanical and electronic control types
Furnace humidifier targets are set in one of two ways: on a mechanical humidistat, by turning the dial until you feel a distinct click, or on a smart thermostat, by entering the target humidity in its settings.
| Control type | How the target humidity is set | Source |
|---|---|---|
| Mechanical humidistat | Turn the dial until you feel a distinct click | Carrier (2026) |
| Smart thermostat | Enter the target humidity in its settings | Carrier (2026) |
A mechanical humidistat is adjusted by rotating a physical dial, and the distinct click marks the position you have selected. A smart thermostat takes the target as a value entered in its settings menu, so the setpoint is stored digitally rather than set by feel. The function is identical in both cases: the control compares the measured humidity with the target and governs the humidifier accordingly. The choice between them mainly affects how the setpoint is entered and read back.
Check the furnace and humidifier before you start
Before you adjust any control, confirm the humidifier type and that its water supply is ready. A standard setup needs a working water supply and a humidistat, plus the damper and drain checks described below. A ducted steam humidifier adds requirements for the high-limit switch, the air-proving switch and the wiring.
Identify the humidifier type
Check the unit’s label or manual to determine whether it is a bypass-style unit or a ducted steam humidifier. Note the model number, since it determines which controls and wiring apply.
Verify the steam components
A ducted steam installation needs an air-proving switch mounted in the duct. According to This Old House (2026), the steam wiring should be done by an electrician. The high-limit switch must be available so it can be set to the maximum humidity, while the room humidistat is set to the target humidity.
Confirm the water supply
Locate the water supply valve and confirm it opens fully before startup. Carrier (2026) lists opening this valve as the first step in starting up a furnace humidifier, so a valve that stops short of fully open can leave the unit without the water it needs.
| Checkpoint | What to confirm | Source |
|---|---|---|
| Humidifier type | Ducted steam or bypass-style, identified from the label or manual | This Old House (2026) |
| Air-proving switch | Installed in the duct | This Old House (2026) |
| Steam wiring | Completed by an electrician | This Old House (2026) |
| High-limit switch | Available to set to maximum humidity | This Old House (2026) |
| Water supply valve | Opens fully | Carrier (2026) |
How do you wire a humidistat to the furnace?
Wiring a humidistat to a furnace is a low-voltage task with a fixed sequence. According to PickHVAC (2026), the humidistat is mounted on the return plenum ductwork, and 18-2 low-voltage wire links the device to the furnace control board. The steps below follow that sequence, which applies to the humidistat-to-board connection only.
Step 1: Cut power at the circuit breaker
Switch off the breaker that feeds the furnace before you remove any cover or touch any wire. Confirm the furnace is de-energised before you continue, and keep the breaker off until the wiring is complete and the covers are back in place.
Step 2: Mount the humidistat on the return plenum ductwork
Attach the humidistat to the return plenum ductwork, the mounting location PickHVAC (2026) names. Connect the outdoor sensor bulb to the humidistat, as PickHVAC (2026) specifies.
Step 3: Run 18-2 wire to the control board
Run 18-2 low-voltage wire from the humidistat to the furnace control board. Connect the 24-volt conductor to the board’s HUM terminal. Keep the run separate from the mains conductors inside the furnace cabinet. Follow the furnace manufacturer’s manual for routing distances and cable-clamp requirements.
Connection summary
| Stage | Component | Specification | Connection point |
|---|---|---|---|
| Power isolation | Furnace circuit | Off at the circuit breaker | Breaker panel |
| Mounting | Humidistat | Sensor bulb attached | Return plenum ductwork |
| Control wiring | 18-2 low-voltage wire | 24-volt signal | Humidistat to control board |
| Termination | Control board | Wire landed on HUM terminal | HUM terminal |
Once the connections are made and the breaker is restored, the humidistat is ready for setup.
Start the heating cycle: set the damper, run the blower and check the drain
After the humidistat is set, the furnace humidifier starts with two actions: the bypass damper goes to its winter position, and the furnace blower runs. According to Carrier (2026), the damper lever moves to the winter (open) position, and the main thermostat is then raised so the blower starts. Confirming that water drains properly is the final check of the cycle.
Move the bypass damper lever to the winter position
The bypass damper is a lever on the humidifier that must be set to the winter (open) position before the furnace runs. Carrier (2026) lists this as a required startup step, so it should be done first, before any heating cycle begins. Leaving the lever in another position means the startup sequence is incomplete.
Raise the thermostat to run the blower
Once the damper is open, raise the main thermostat a few degrees above room temperature. This call for heat starts the furnace blower, which is the step that gets the cycle moving. Set the thermostat only a few degrees above the current reading, as Carrier (2026) describes, rather than to a high temperature.
Confirm that water drains through the drain line
With the blower running, check the drain line. Carrier (2026) specifies that you should confirm water drains through it. Check this during the first cycle, while the humidifier is operating, so you can see the drainage directly.
| Step | Action | What to confirm |
|---|---|---|
| 1 | Move the bypass damper lever | Lever is in the winter (open) position |
| 2 | Raise the main thermostat a few degrees above room temperature | Furnace blower runs |
| 3 | Check the drain line | Water drains through the line |
What humidity level should you set?
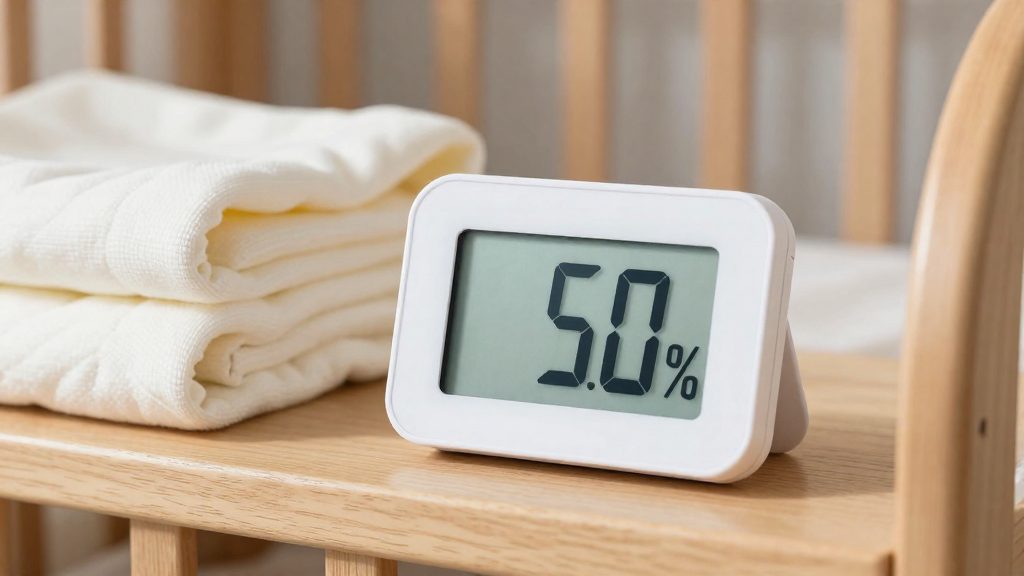
Before you turn the humidistat, decide on a target humidity that matches the air in your home. For winter heating, Carrier recommends keeping indoor humidity between 30% and 45%, which it calls the Carrier winter range (Carrier, 2026). This is the reference band for choosing a setpoint, and it applies to the air in the living space, not to the outdoor air or the air inside the ductwork.
Start by measuring what you have. Place a hygrometer in a room where you spend time, away from the furnace outlet, the humidifier, and direct sunlight. Wait for the reading to settle, then note the value. A single reading taken right after a shower or cooking can be misleading, so check it at a time when the house is in normal use.
Compare the hygrometer reading with the Carrier winter range:
| Indoor reading | Position against the 30% to 45% range | Target to set |
|---|---|---|
| Below 30% | Under the recommended band | A value inside the range, nearer the upper end |
| 30% to 45% | Within the recommended band | A value inside the same band |
| Above 45% | Over the recommended band | A lower value, so the humidifier adds less moisture |
Set the target within the range rather than at its edge. The range is a guideline, and the aim is to keep the air within it, not to push the reading to one extreme. Once the target is set, check the hygrometer again after a day or two of normal operation to confirm the reading has stabilised within the band.
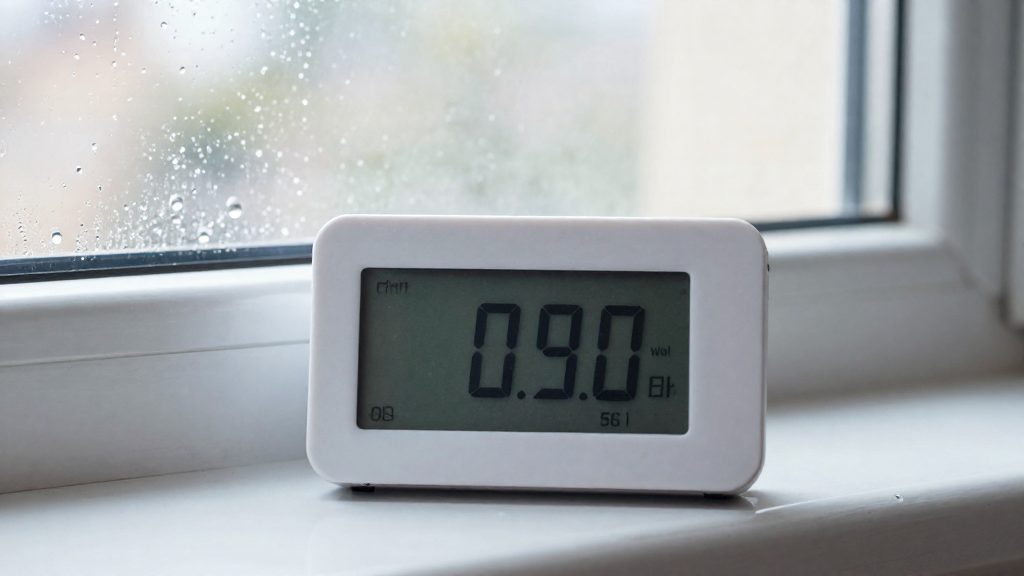
How do you adjust for cold weather and window condensation?
Window condensation is the most direct sign that the humidistat setpoint is too high for current outdoor conditions. Glass is usually the coldest surface in a room, so moisture in the indoor air condenses there first. Carrier (2026) advises lowering the setting as outdoor temperatures drop and, when windows show condensation, dialing back a few points until the glass stays clear.
Use the glass as a feedback signal
The window works as a continuous sensor. Each adjustment has a visible result, and the glass tells you whether the setting still fits the weather.
| Glass condition | Action on the humidistat |
|---|---|
| Condensation forms on the inner pane | Dial the setpoint back a few points |
| Glass stays clear after the change | Keep the current setting |
| Fogging returns during a cold spell | Dial back again, in a few-point step |
Check the inner surface of the windows at the coldest part of the day, when outdoor temperatures are lowest. A clear pane at that point shows the setting is workable for the current weather.
Lower the setpoint before fogging appears
Because the glass responds only after the air has already become too humid, waiting for visible fog means the room has spent time above the level the outdoor temperature can support. Carrier (2026) recommends lowering the setting as outdoor temperatures fall, so the adjustment should happen when the forecast turns colder, not after the first fog appears.
Make changes in small steps. Moving the setpoint by a few points and then checking the glass isolates the effect of each change. Large jumps make it hard to tell which setting caused the fog.
Troubleshooting a humidifier that won’t run
When a furnace humidifier does not activate, the fault usually sits in one of three places: the humidistat setpoint, the control signal reaching the furnace board, or the water-side shutdown devices. Check them in that order. Each step confirms or rules out the layer before it.
Compare the setpoint against the room reading
Compare the room reading with the setting. If the setpoint sits below the room reading, the unit will stay idle, and that is expected behavior.
- Mechanical humidistat: turn the dial until you feel a distinct click, then confirm the position.
- Smart thermostat: check that the target humidity saved in its settings matches the value you intended.
| Observation | What it indicates | Next step |
|---|---|---|
| Setpoint below the room reading | Humidistat is correctly not calling for humidification | Raise the setpoint only if the air is genuinely dry |
| Setpoint above the room reading, unit silent | Signal or water-side fault | Move to the signal test |
Measure the 24-volt signal at the control board
If the setpoint is correct and the unit still does not run, measure whether that signal is present.
- Set a multimeter to read voltage and confirm the leads are in the correct jacks.
- With the system powered and the humidistat calling for humidity, measure across the HUM terminal and the board’s common terminal.
- A reading of about 24 volts means the signal reaches the board. The fault is then downstream, in the humidifier itself.
- No reading means the signal path is broken. Check the humidistat’s own state and its connections before replacing parts.
Live voltage testing is a job for a qualified HVAC technician or electrician only. Do not touch live terminals yourself; if you are not qualified, call a professional to run this test.
Check the float valve and water level
Some humidifiers include a float-controlled shutdown so the unit does not run without water or overflow the pan. Check the manufacturer’s manual to see whether your model has one. A float that is stuck, jammed with scale, or sitting in the wrong position will hold the unit off even when the signal is correct.
- Inspect the water level in the pan and confirm the float rises and falls freely.
- Lift the float gently by hand. It should move without binding and return to its resting position.
- Clean any mineral deposits or debris that restrict the float arm.
- If the float stays low or fails to rise with water present, the float valve is the likely cause.
Seasonal shutdown and maintenance
Shutting down a furnace humidifier at the end of the heating season takes three actions: close the water, empty the pan, and turn off the humidistat so the unit does not call for moisture during warmer months. Taking these steps in order keeps water from standing in an idle unit, and replacing the evaporator pad before storage means the humidifier starts the next season with fresh material. Check the manufacturer’s manual for the recommended replacement interval for evaporator pads.
Closing the water supply and draining the pan
Shut the supply first so no new water enters the unit, then empty what remains.
| Step | Action | Purpose |
|---|---|---|
| 1 | Turn the water supply valve to the closed position | Stops new water from entering the humidifier |
| 2 | Let the pan and drain line empty completely | Removes standing water from the idle unit |
| 3 | Wipe the pan dry and check that no water remains | Prevents residual moisture from sitting in the housing |
Before draining, make sure the furnace is off at the thermostat so the humidifier is not running during the process.
Setting the humidistat to off for summer
The humidistat controls when the humidifier runs, so it must be switched off rather than left at a low value.
- Mechanical humidistat: turn the dial to its off position.
- Smart thermostat: disable humidification in the humidity settings instead of only changing the target.
Replacing the evaporator pad at the end of the season
The evaporator pad is the absorbent panel that water flows over to add moisture to the airstream. Replacing it at shutdown means the old pad, which has absorbed mineral-laden water all season, does not sit in the unit over the summer.
- Remove the old pad and note its orientation, including which side faces the airflow and where the water distributor sits.
- Install the new pad in the same orientation, seated flush against the frame with no gaps for air to bypass.
- Store any spare pads in a sealed bag in a dry location, away from humid areas such as basements or garages, so they stay usable until the next heating season.
Frequently asked questions
What relative humidity should I set on a furnace humidistat in winter?
Carrier (2026) recommends keeping indoor relative humidity between 30% and 45% during winter, and lowering the setting as outdoor temperatures fall. If condensation forms on the windows, reduce the target by a few points until the glass stays clear.
How do I confirm the humidifier is running after I set the humidistat?
Raise the main thermostat a few degrees above room temperature so the furnace blower runs, then check that water drains through the drain line (Carrier, 2026). Both checks come after the humidistat setting and the water valve and damper steps.
Can I wire the humidistat myself?
PickHVAC (2026) describes the wiring as: cut power at the breaker, mount the humidistat on the return plenum ductwork, run 18-2 low-voltage wire to the control board, connect the outdoor sensor bulb, and connect the 24-volt wire to the HUM terminal. Any test with power on must be run by a qualified HVAC technician or electrician. If you are not qualified, do not touch live terminals.