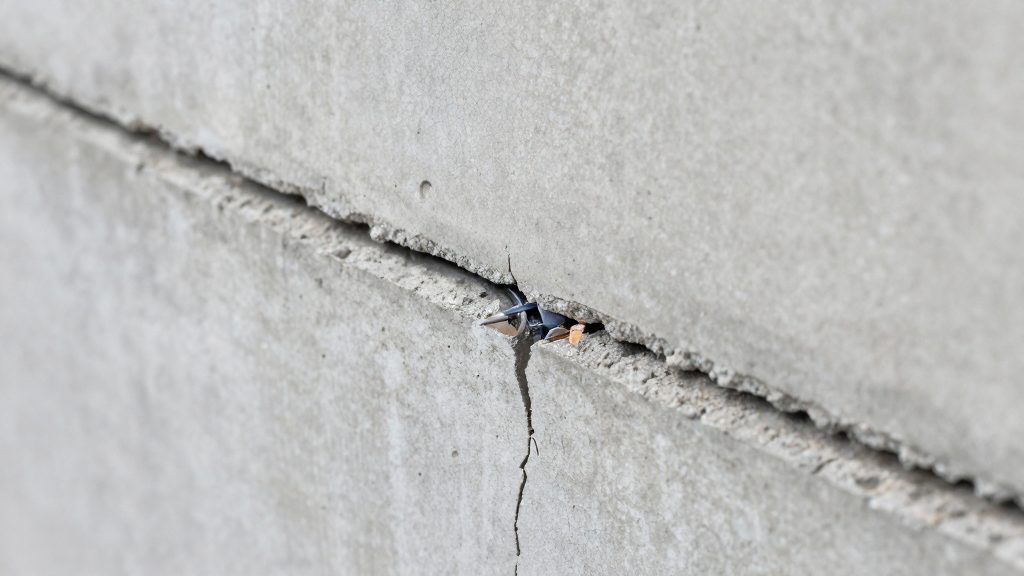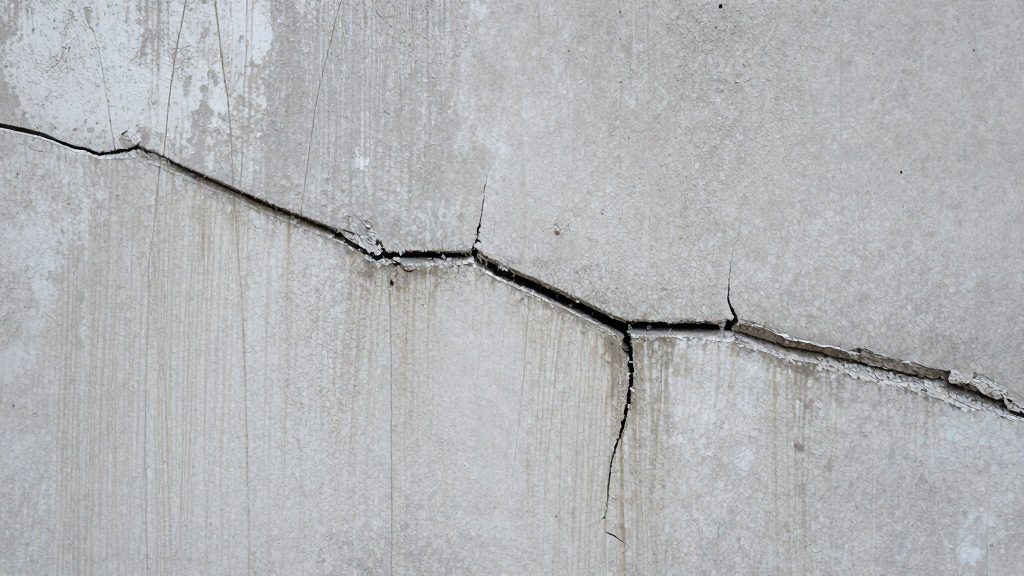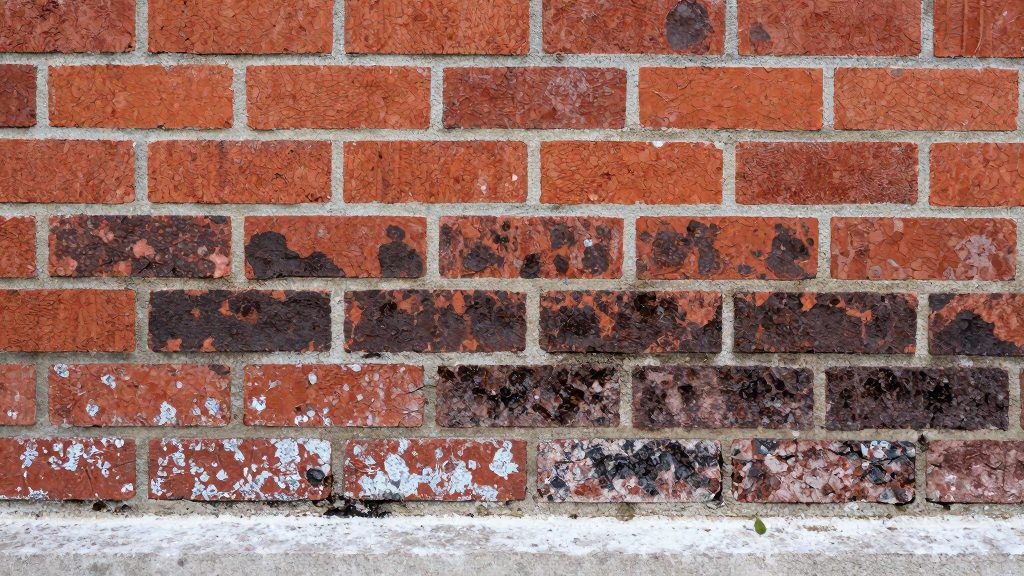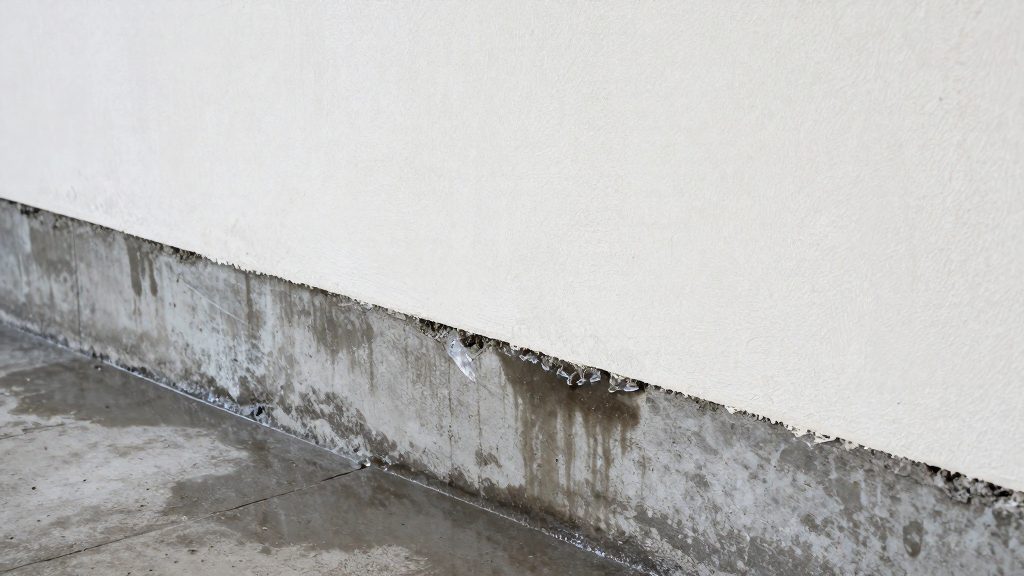
Water wicks from the foundation into drywall because porous concrete block and mortar draw liquid water upward by capillary action. Moisture in the soil beside the foundation wall enters the masonry, travels up through its pores, and reaches the bottom edge of the gypsum board, where the paper facing carries it further up the wall.
Why does water wick from the foundation into drywall?
The moisture route from soil to wall
Soil moisture contacts the exterior face of the foundation wall and enters the masonry. Wicking is a continuous process: as long as the pores near the soil stay wet, water keeps moving upward, one stage at a time.
| Stage | Location | What moves the water |
|---|---|---|
| Soil contact | Exterior face of the foundation wall | Moisture from surrounding soil enters the masonry |
| Masonry transport | Concrete block and mortar joints | Capillary rise through interconnected pores in porous masonry |
| Board entry | Bottom edge of the drywall | Water is drawn into the paper facing |
| Upward wicking | Paper facing above the bottom edge | Capillary action carries water higher up the board |
Porous block and mortar as a pathway
Concrete block and mortar are porous materials. Their internal voids connect the exterior face to the interior face, so the wall itself becomes a conduit. Because the path runs through the wall rather than across its surface, a damp-looking interior wall can be receiving water from behind a finish that appears dry.
How the paper facing carries water upward
Once water reaches the board, the paper facing acts as a wick. Water moves into the paper from the bottom edge and climbs against gravity. The result is a moisture line that rises above the point where the masonry meets the board, which is why staining or softening can appear well above floor level rather than only at the base.
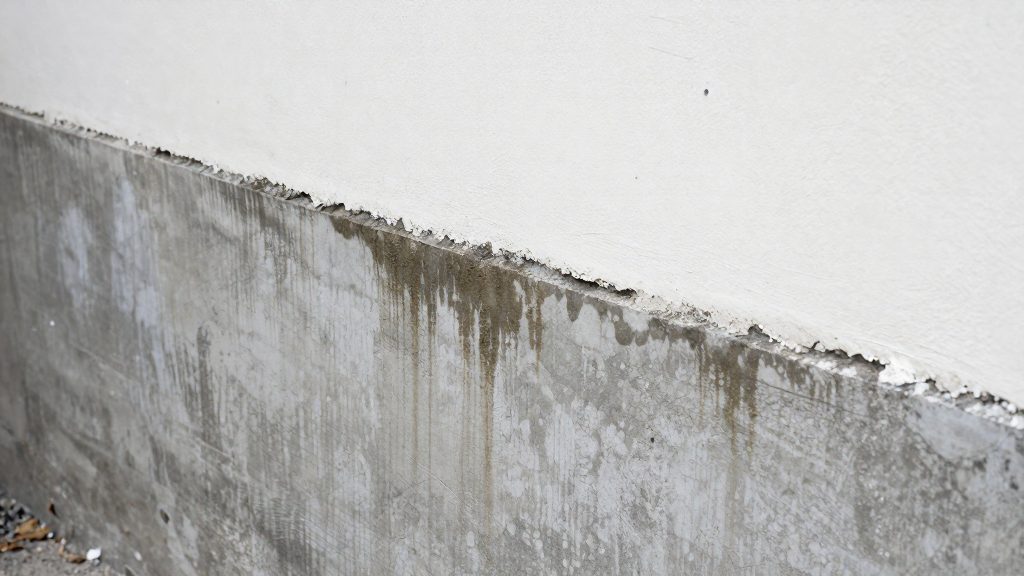
Wicking or hydrostatic pressure: which one is it?
Wicking and hydrostatic pressure both bring liquid water into a wall, but they work differently. Capillary wicking moves water up through the pores of masonry without any applied pressure. Hydrostatic pressure pushes liquid water into the wall from the outside. Because these are separate mechanisms, identifying the active one determines which fix is likely to work.
Capillary action versus hydrostatic force
Capillary action needs no pressure. Porous masonry draws water upward on its own. Hydrostatic pressure requires liquid water pressing against the surface. According to Green Building Advisor, a product that stops one mechanism may not stop the other.
Informal spray tests on concrete block, reported by Green Building Advisor, show this difference. Drylok Extreme stopped wicking but not hydrostatic pressure, while Xypex stopped hydrostatic pressure but not wicking. Only the Koster NB1 system resisted both. The author describes these tests as anecdotal, so they illustrate how the mechanisms differ rather than providing a verified performance ranking.
Hydrostatic pressure from saturated soil
Hydrostatic pressure typically develops when soil beside a foundation wall becomes saturated. Water in the soil presses against the wall, and the force drives liquid water inward through the material. Unlike wicking, this pathway depends on the surrounding ground being waterlogged, so it is linked to external water conditions rather than to the floor-level moisture alone.
Observable signs to tell them apart
Compare the pattern of staining and its timing. The reference material does not give a fixed staining height for either mechanism, so the pattern and timing are the more useful indicators.
| Observation | Suggests wicking | Suggests hydrostatic pressure |
|---|---|---|
| Water source | Moisture rising from the floor or slab base | Water pressing against the wall from saturated soil outside |
| Staining pattern | Stain rising from the base in a band | Staining that appears at the wall with waterlogged ground outside |
| Timing | May persist during dry periods | May appear or worsen after rain (not confirmed by the sources) |
To compare, record the wall base after several dry days and again after heavy rain. These observations are only a rough heuristic and are not drawn from the sources. A stain that persists in dry weather can still come from saturated soil, so treat the result as a hypothesis and not a diagnosis.
Fix exterior drainage and grading first
Remove the outside water source before taking any interior measure. Water that reaches the base of a wall from outside keeps the masonry wet and raises the pressure pushing water into it. Reducing the external supply lessens the load on any interior barrier but does not replace one.
Grade the soil away from the foundation
Soil against the wall should fall continuously away from the foundation, so surface water runs outward instead of pooling against the masonry. Check the grade with a level across the full length of the wall. Low spots next to the foundation, where water collects after rain, are the first places to fill and recontour.
Route downspouts well beyond the foundation
A downspout that discharges at the base of the wall delivers roof runoff straight to the soil beside the foundation. Extensions should carry water far enough out to land on ground that slopes away from the house. Test the result after heavy rain: if water returns toward the wall, the extension is too short or the ground under it is flat.
Route sump and French drain outflow away from the house
A sump pump or French drain only helps if its outflow leaves the house’s immediate footprint. A discharge line that empties beside the foundation sends the collected water back against the wall. End the line at a point downhill from the house, where the water can soak away or reach an approved outlet, and confirm that it does not flow back into the perimeter drain.
| Element | Correct routing | Common failure |
|---|---|---|
| Surface grade | Falls continuously away from the wall | Flat, or sloping toward the wall |
| Downspout | Discharges beyond the foundation extent | Ends at the wall base |
| Sump or French drain | Outlet downhill, away from the house | Outlet beside the foundation |
Capillary breaks and waterproofing coatings
Coatings on the basement wall act on the masonry itself, not on the drywall. The coating should be matched to the mechanism at work.
What the anecdotal spray tests showed
Green Building Advisor reports informal spray tests on concrete block by one of its authors. The author describes these tests as anecdotal, so they indicate direction rather than verified performance.
| Product | Stopped wicking | Stopped hydrostatic pressure |
|---|---|---|
| Drylok Extreme | Yes | No |
| Xypex | No | Yes |
| Koster NB1 system | Yes | Yes |
The Koster NB1 system was the only product in these tests that resisted both mechanisms. Drylok Extreme and Xypex each addressed one mechanism and left the other open.
Applying a surface coating to the inside face of the block
A surface coating is applied to the face of the block wall inside the basement, before any drywall is fixed to it. The general sequence is:
- Check that the block is dry and clean, with dust and loose material removed, before coating.
- Follow the manufacturer’s instructions for surface preparation, number of coats, and cure time. These details vary by product.
- Allow the coating to cure fully before framing or fixing drywall to the wall.
- After a wet period, inspect the coated surface for any moisture reaching the face of the wall.
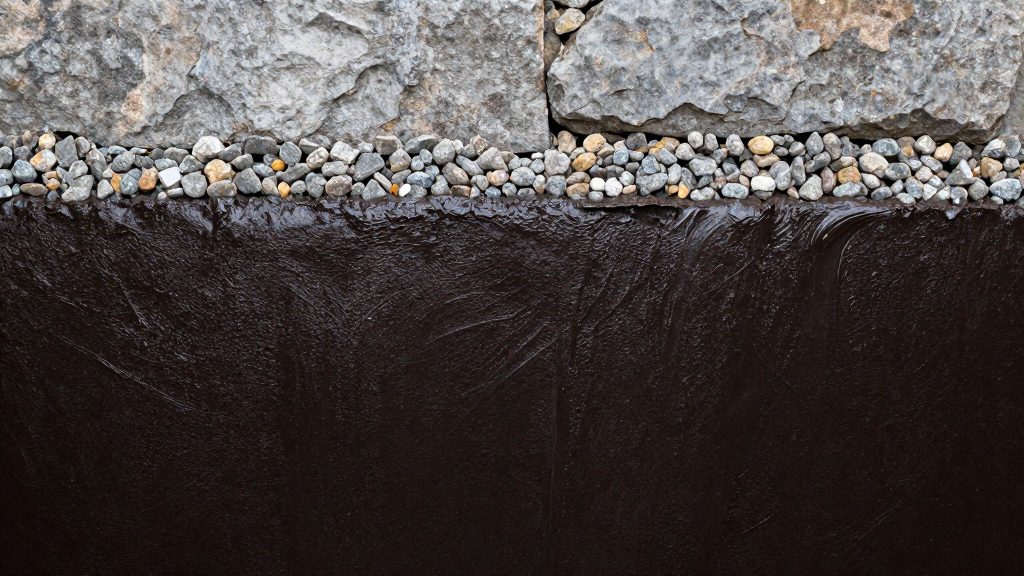
Should drywall sit off the floor?
Raising the bottom edge of drywall above the floor can reduce moisture damage from wicking, but only if the clearance is large enough. According to Walls & Ceilings (2021), the conventional method leaves a gap of about 5/8 inch at the base of the wall, and the source states that this gap does not effectively stop wicking. The alternative is the VersaDry track system, which holds drywall 2 inches off the floor on a steel shelf and mitigates wicking.
The VersaDry source discusses wicking only, so a raised track should not be assumed to handle pressure-driven water.
Conventional gap versus raised track
| Feature | Conventional base | VersaDry track |
|---|---|---|
| Clearance above floor | About 5/8 inch | 2 inches |
| Effect on wicking | Not effective, per Walls & Ceilings | Mitigates wicking |
| Gap treatment | Filled with fire caulk | Drywall held on steel shelf |
Practical implications
- Clearance matters. The difference between 5/8 inch and 2 inches is the central point of the comparison. A small gap is not a partial measure against wicking according to this source.
- Fire caulk is a fill, not a barrier against wicking. The source describes fire caulk as the material used to fill the conventional gap. It does not say that the caulk stops water movement, so it should not be treated as a waterproofing step.
- Check the wall before choosing a method. If the base of the wall is already wet or stained, the clearance change alone will not reverse existing moisture. Apply it to new framing or during a planned rebuild, where the track can be installed from the start.
How do you repair wet drywall and prevent mold?
Repairing water-damaged drywall means removing the saturated material, drying the wall cavity, cleaning any mold-contaminated framing, and only then closing the wall. Skipping a step leaves moisture trapped behind new board, where it can support mold growth.
Cutting out the wet drywall
Find the moisture line, the highest point where the board shows staining, softening, bubbling or swelling. Cut the drywall above that line, up to the height where moisture meter readings show dry material. Water can wick upward beyond the visible edge, so check the cut edges with a moisture meter rather than relying on appearance alone. Remove the lower section completely if it has sagged or crumbled.
Drying the wall cavity and framing
- Remove insulation that has absorbed water. Wet batts hold moisture for a long time and should be replaced.
- Open the cavity so air can reach the studs, plates and sill material. Point fans into the opening.
- Keep the room’s air moving and run a dehumidifier if the space stays damp.
- Confirm that the wood reads as dry on the moisture meter before you continue. Do not estimate drying time from how the surface feels.
Removing mold from studs and board
Discard any drywall that shows mold on its face or back. Framing can often be cleaned, but wear gloves, eye protection and at least an N95 respirator. If the contaminated area is large, covers more than a small patch, or comes back, or if anyone in the home has asthma or other respiratory problems, consult a qualified mold remediation professional (EPA guidance). Seal the work area with plastic sheeting so spores do not spread to other rooms, and avoid blowing air into the contaminated area during removal.
Track wall moisture with a moisture meter and a hygrometer
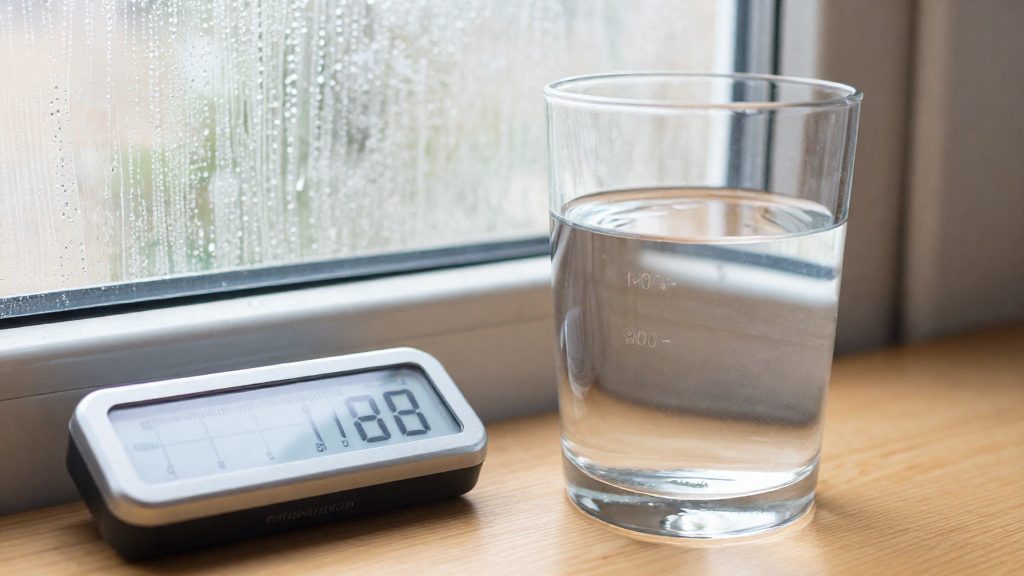
Monitoring means checking whether the wall base is getting drier over time, not reading one number. A hygrometer measures the moisture in the air of a room, while a pin-type moisture meter measures the moisture inside a material such as drywall or wood framing. Used together, they give indications of whether the wall is drying, but they cannot identify the moisture source on their own. Because the readings are relative, the most useful approach is to compare the affected area against a dry reference point and record results over several weeks.
Hygrometer placement
Place the hygrometer where it reflects the conditions that affect the wall, not just the general room.
| Location | Purpose of the reading |
|---|---|
| Near the wall base, close to the floor | Shows the air conditions in the zone most exposed to moisture rising from the foundation |
| Mid-height of the same room | Gives a reference for the overall room air, to compare with the base reading |
| Opposite wall or a visibly dry area | Provides a baseline for the room, showing whether the problem is local or general |
Keep the hygrometer away from direct sunlight, heaters, windows, and supply vents, since these create readings that do not represent the wall. Let it sit in place for a sufficient period before trusting the value, because sensors need time to settle after being moved.
Pin-type meter readings in drywall and framing
A pin-type meter uses two probes that are pushed into the material to estimate its moisture content. The readings are most useful as comparisons.
- Take readings on the drywall at the wall base, at a consistent height on each visit.
- Take readings on a dry section of drywall elsewhere in the same room, to establish a reference.
- If the wall is opened, take readings on the exposed framing, which reveals whether moisture has reached the structure.
- Use the same meter, the same probe depth, and the same measurement points each time.
Pin-type readings can be affected by the type of material, so compare like with like: drywall with drywall, and framing with framing. Note any readings that are unusually high in one spot, since local wetness is easier to miss than a general trend.
Logging readings over weeks
A single reading shows only a snapshot. A log reveals whether the situation is improving.
- Record the date, time, location, and value for each hygrometer and meter reading.
- Note the conditions at the time, such as recent rain, heating use, or open windows.
- Check the log for a downward or stable trend at the wall base relative to the reference points.
- Treat a reading that rises again after a dry period as a sign that moisture is still reaching the wall.
Frequently asked questions
Is wicking the same thing as water leaking through the wall under pressure?
No. Wicking is capillary action, which draws water into porous masonry without any pressure, while hydrostatic pressure pushes liquid water through the wall. Green Building Advisor notes that these are separate mechanisms, so a product that blocks one may leave the other untouched.
Does leaving a gap and filling it with fire caulk stop water from wicking into the drywall?
No. Walls & Ceilings (2021-06-21) reports that the conventional gap of about 5/8 inch, filled with fire caulk, does not effectively stop wicking. The VersaDry track, which holds drywall 2 inches off the floor on a steel shelf, is described in the same source as a way to mitigate it.
Can a waterproofing coating on the block solve wicking by itself?
Not reliably, according to one author’s informal spray tests reported by Green Building Advisor. In those anecdotal tests, Drylok Extreme stopped wicking but not hydrostatic pressure, and Xypex stopped hydrostatic pressure but not wicking. Only the Koster NB1 system resisted both, which means a coating should be checked against each mechanism separately.